How to make a junk journal
I don’t remember how I first heard about junk journaling, but I know that I was immediately like, Well, this is made for me personally.
A junk journal is a scrapbook/photo album/diary/collage. The “junk” part comes from the fact that you fill it with stuff that you encounter as you go about your life: Receipts, stickers, tickets, and other bits and pieces that add color and texture and help tell your story. As a lifelong journaler, author of a book about journaling, and former scrapbooker, it immediately spoke to me. I like it because it’s a super inexpensive and low-barrier-to-entry way to be creative and to capture memories in a single place.
I wrote about junk journaling in The Nice Life, in the chapter about writing your own narrative and taking your life seriously. I interviewed Emily Hassman, a longtime internet pal who teaches a junk journaling workshop at Pudding, her art studio in Eugene, OR. She gave me a lot of good ideas and tips, including the suggestion to use a notebook with sturdy paper and a binding that will be able to accommodate a lot of layers once you start filling it. (If you want to avoid buying anything new, she recommends using an old book as a starting point, and tearing out half the pages to make room for all the stuff you’re going to add in.)
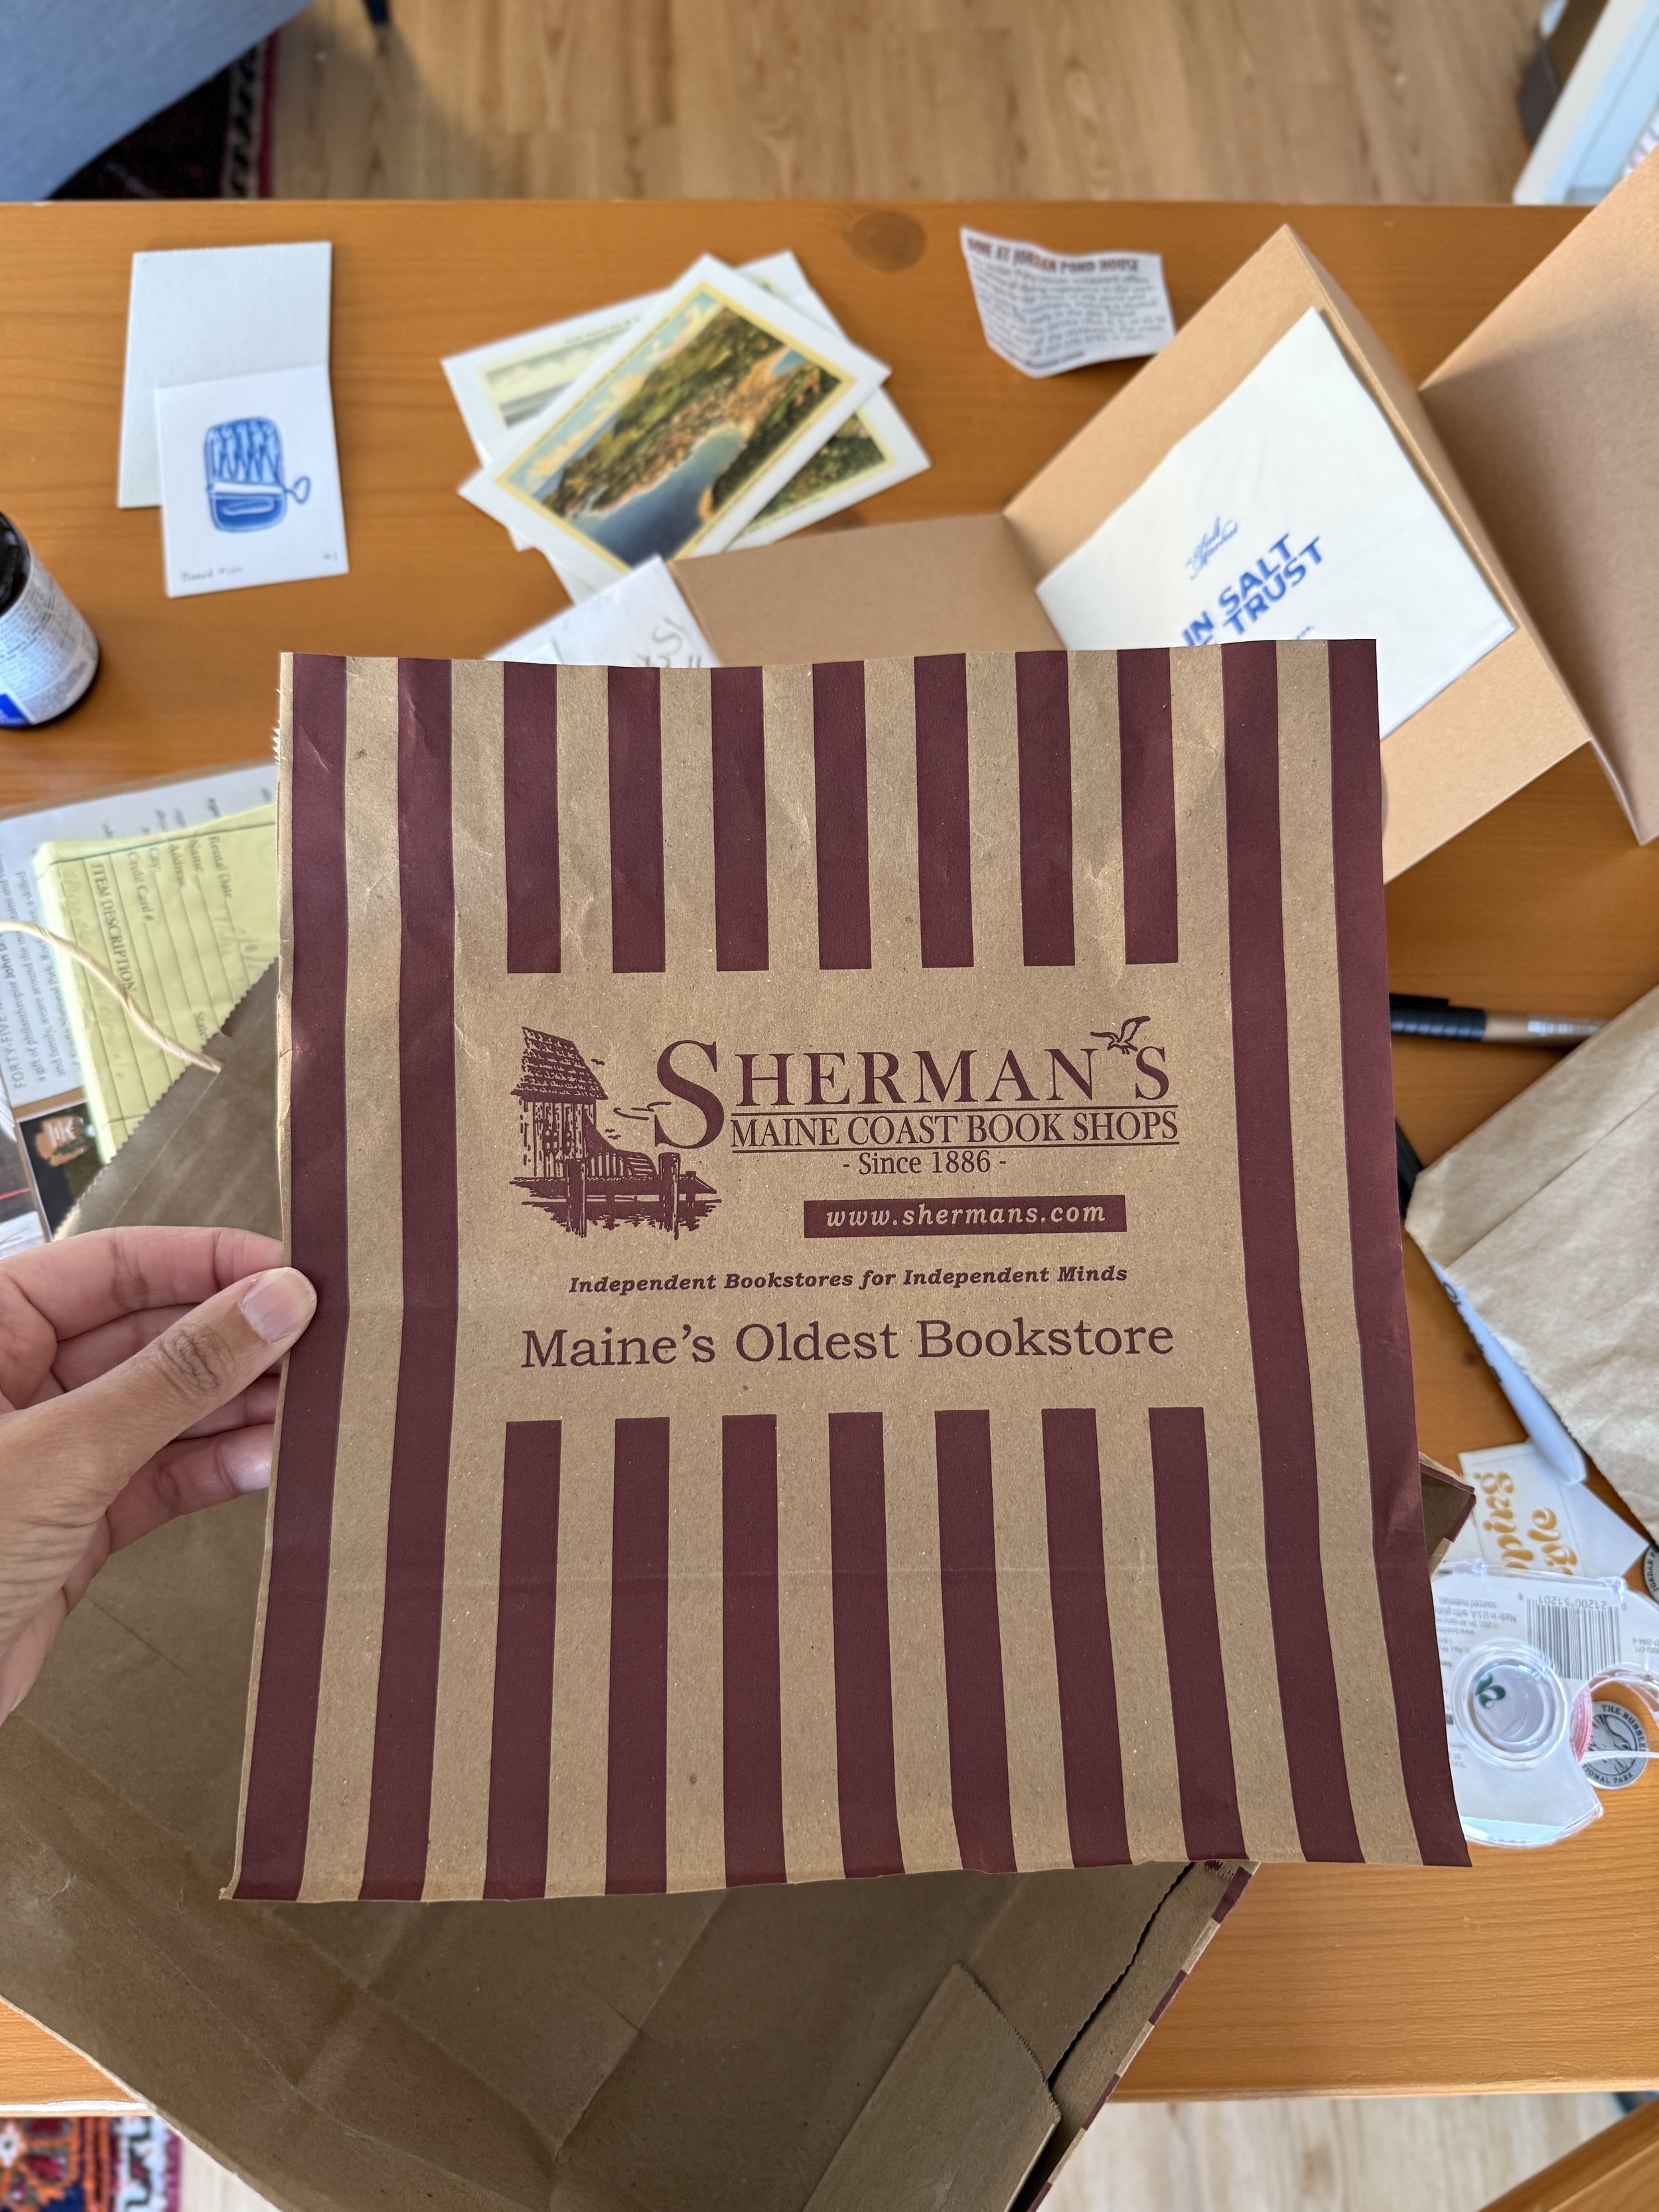
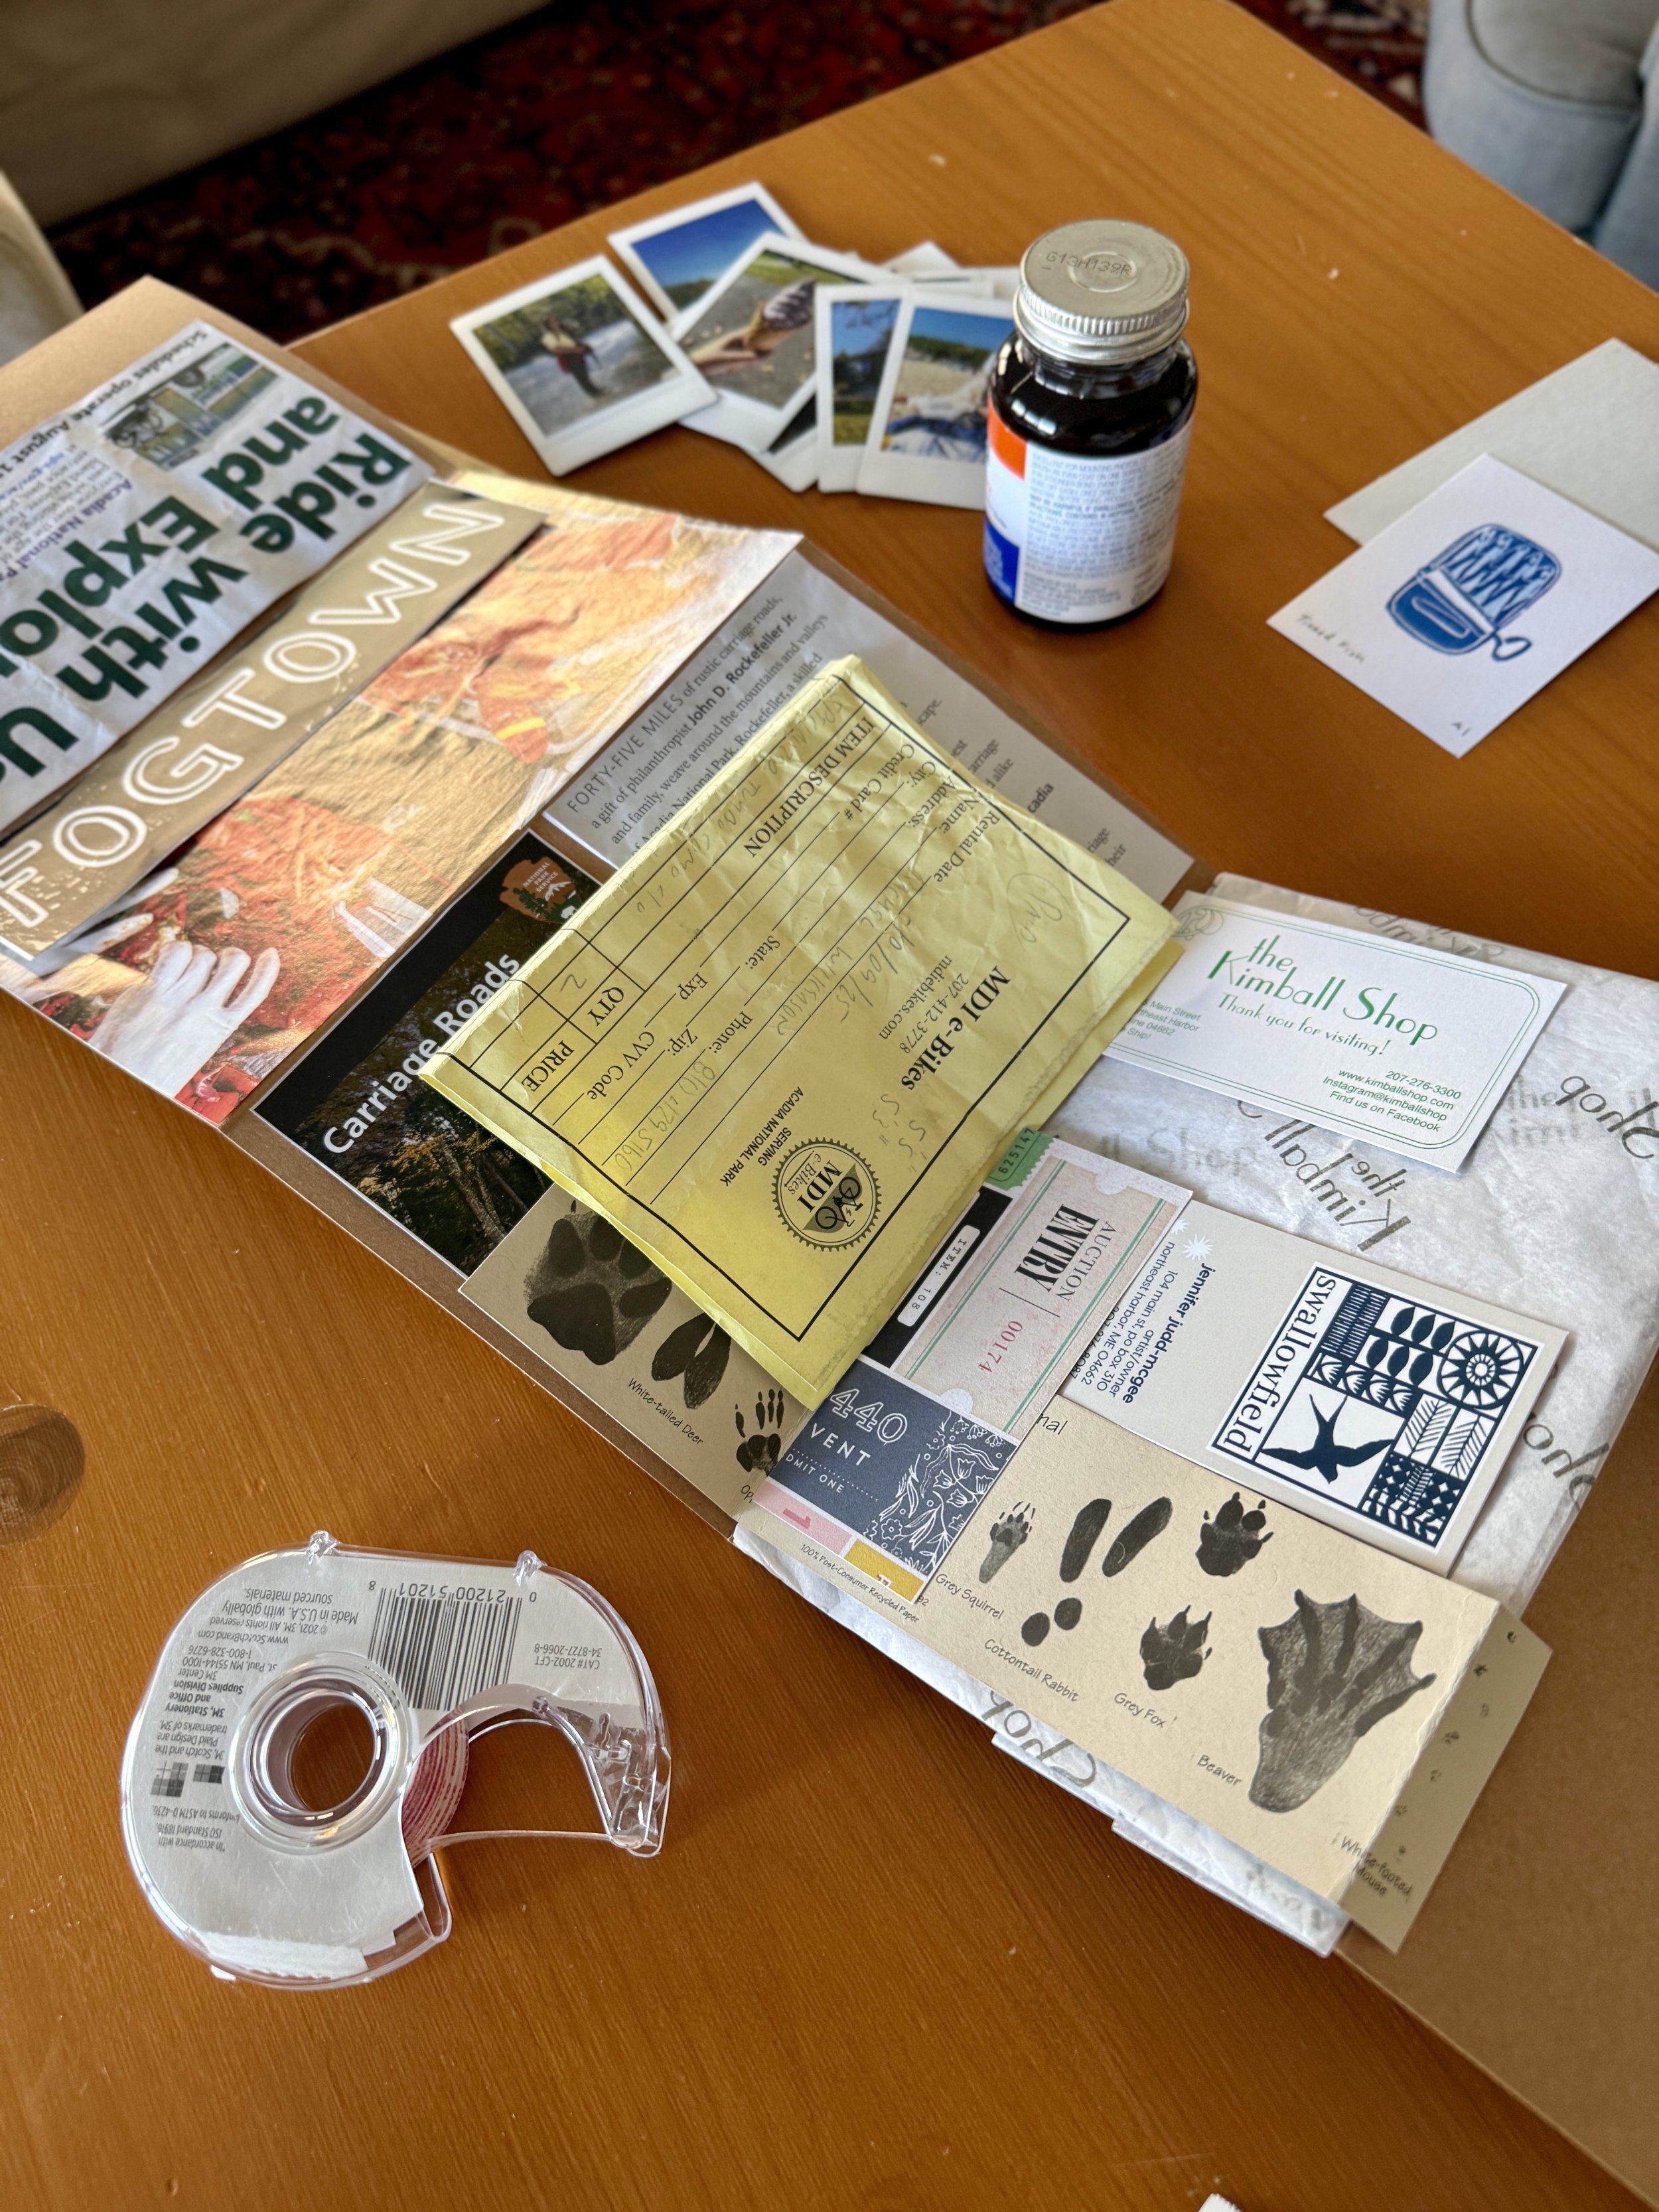
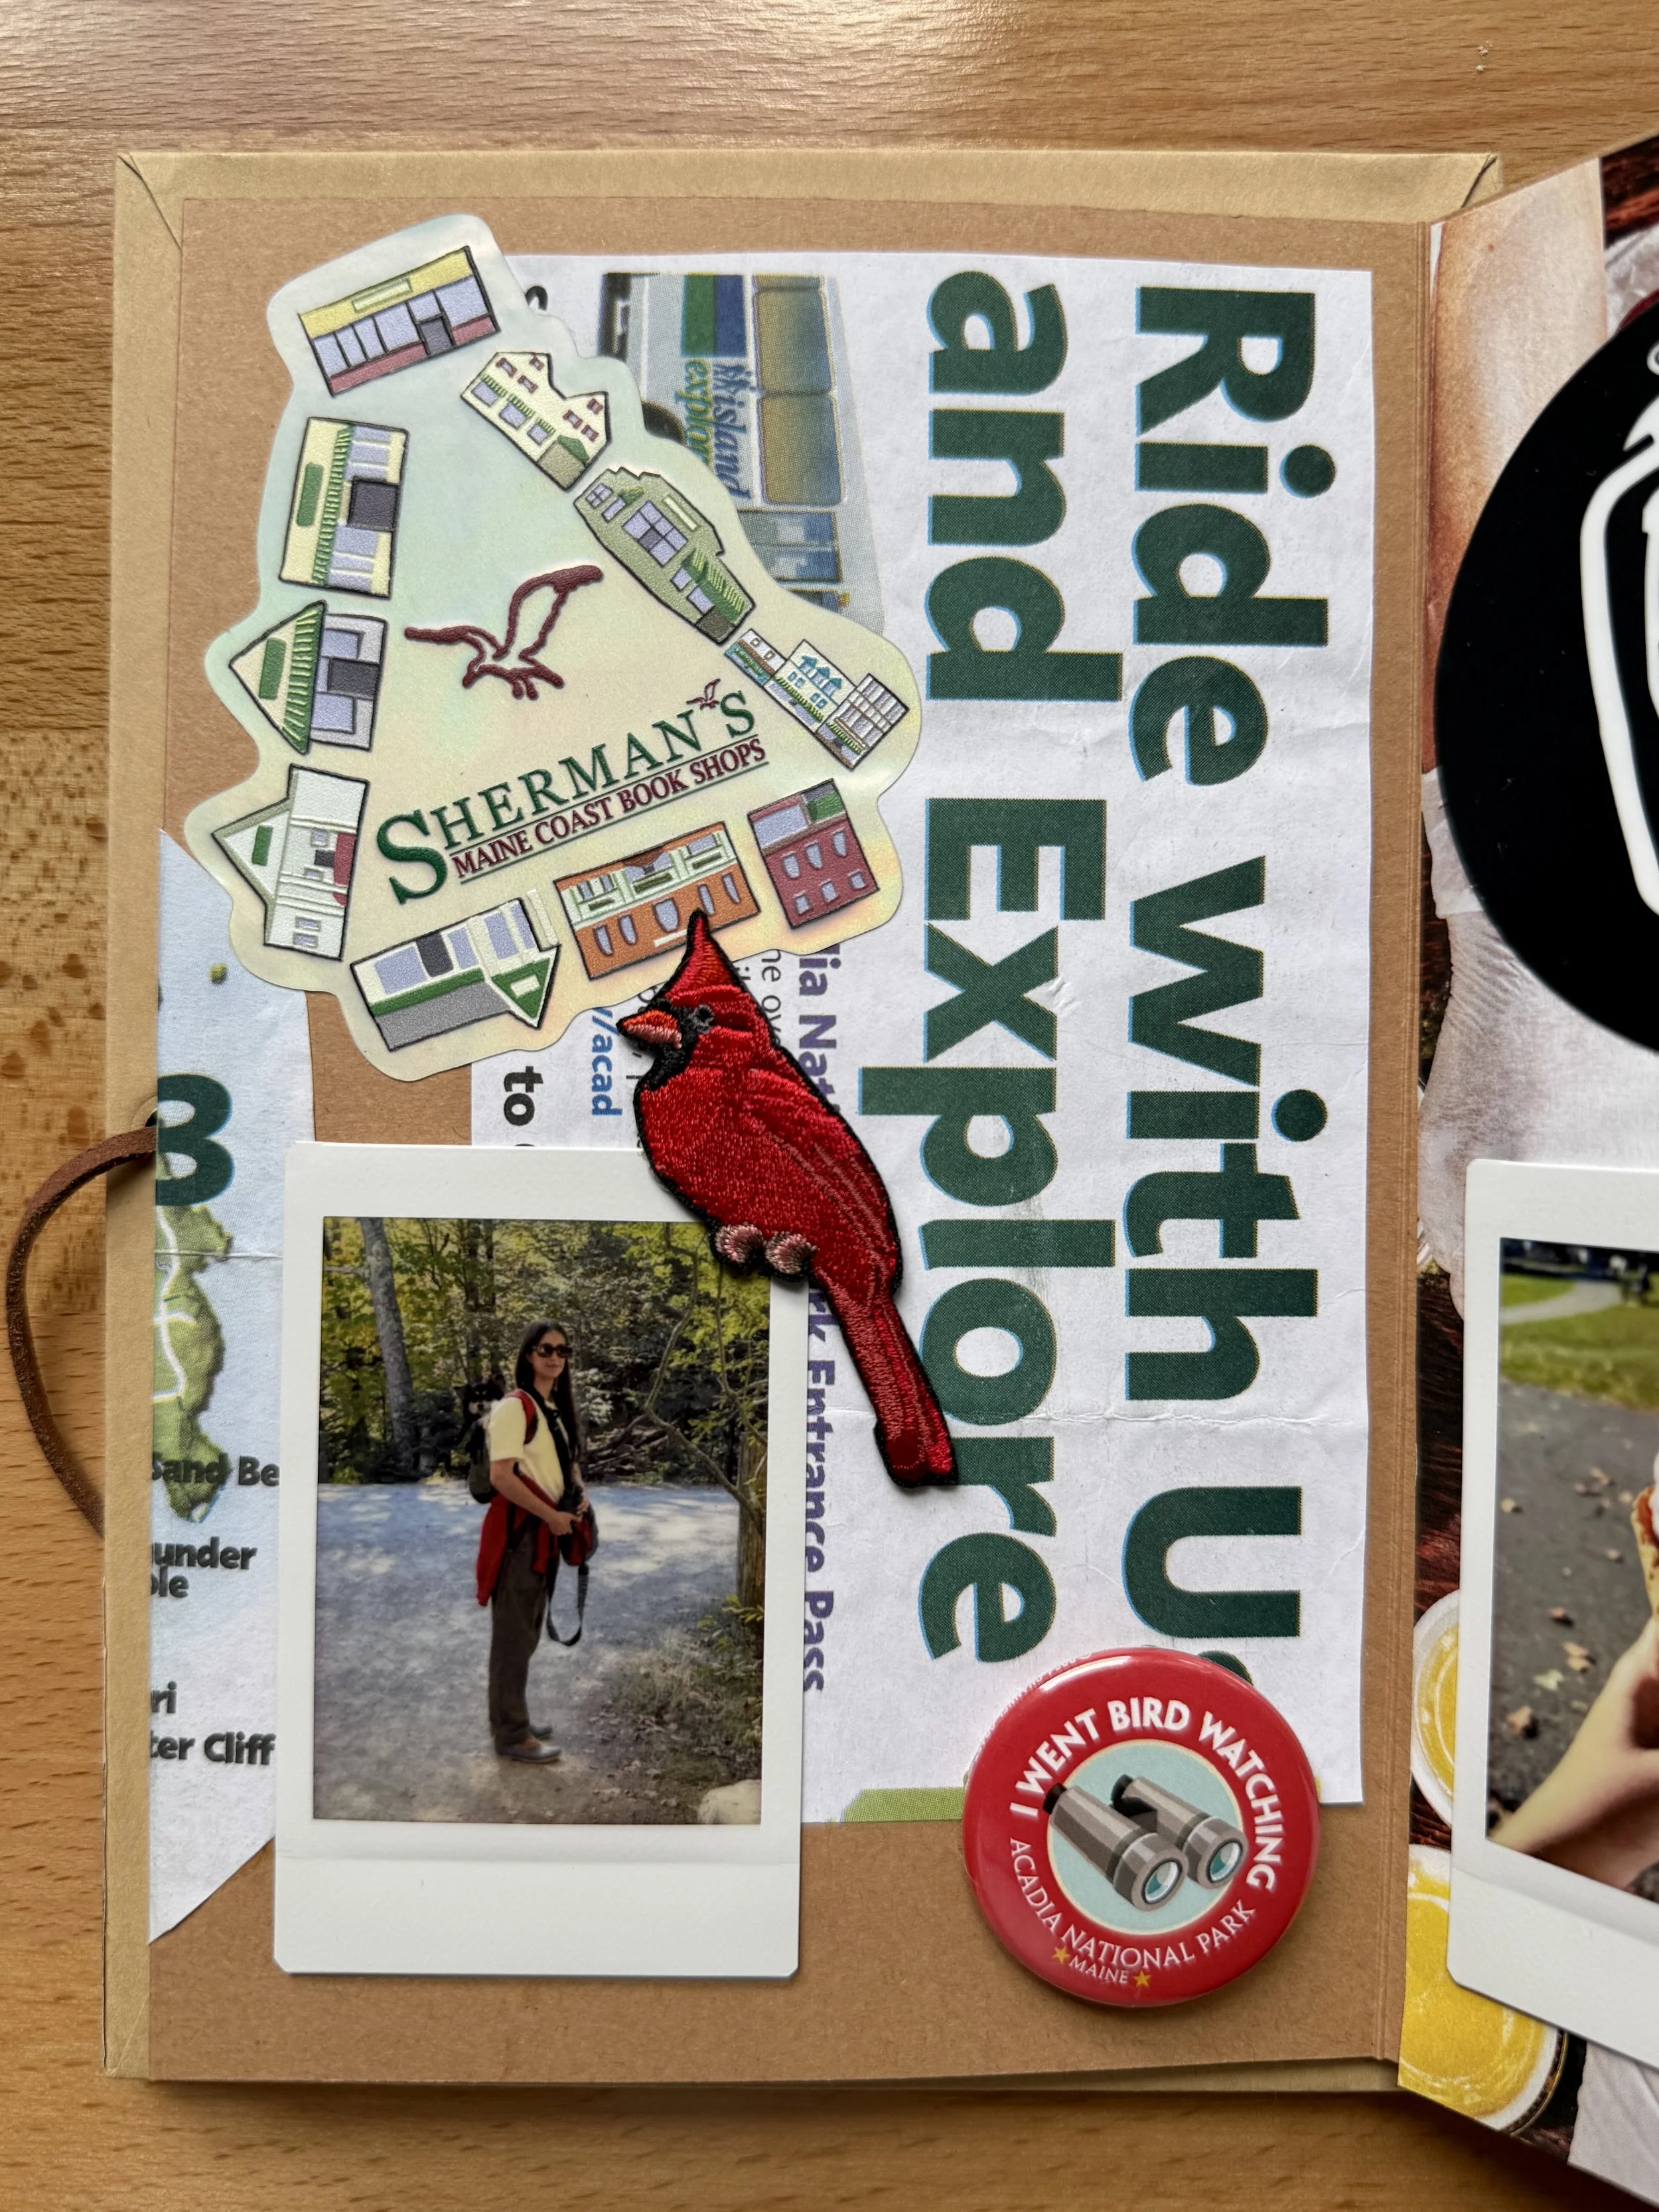
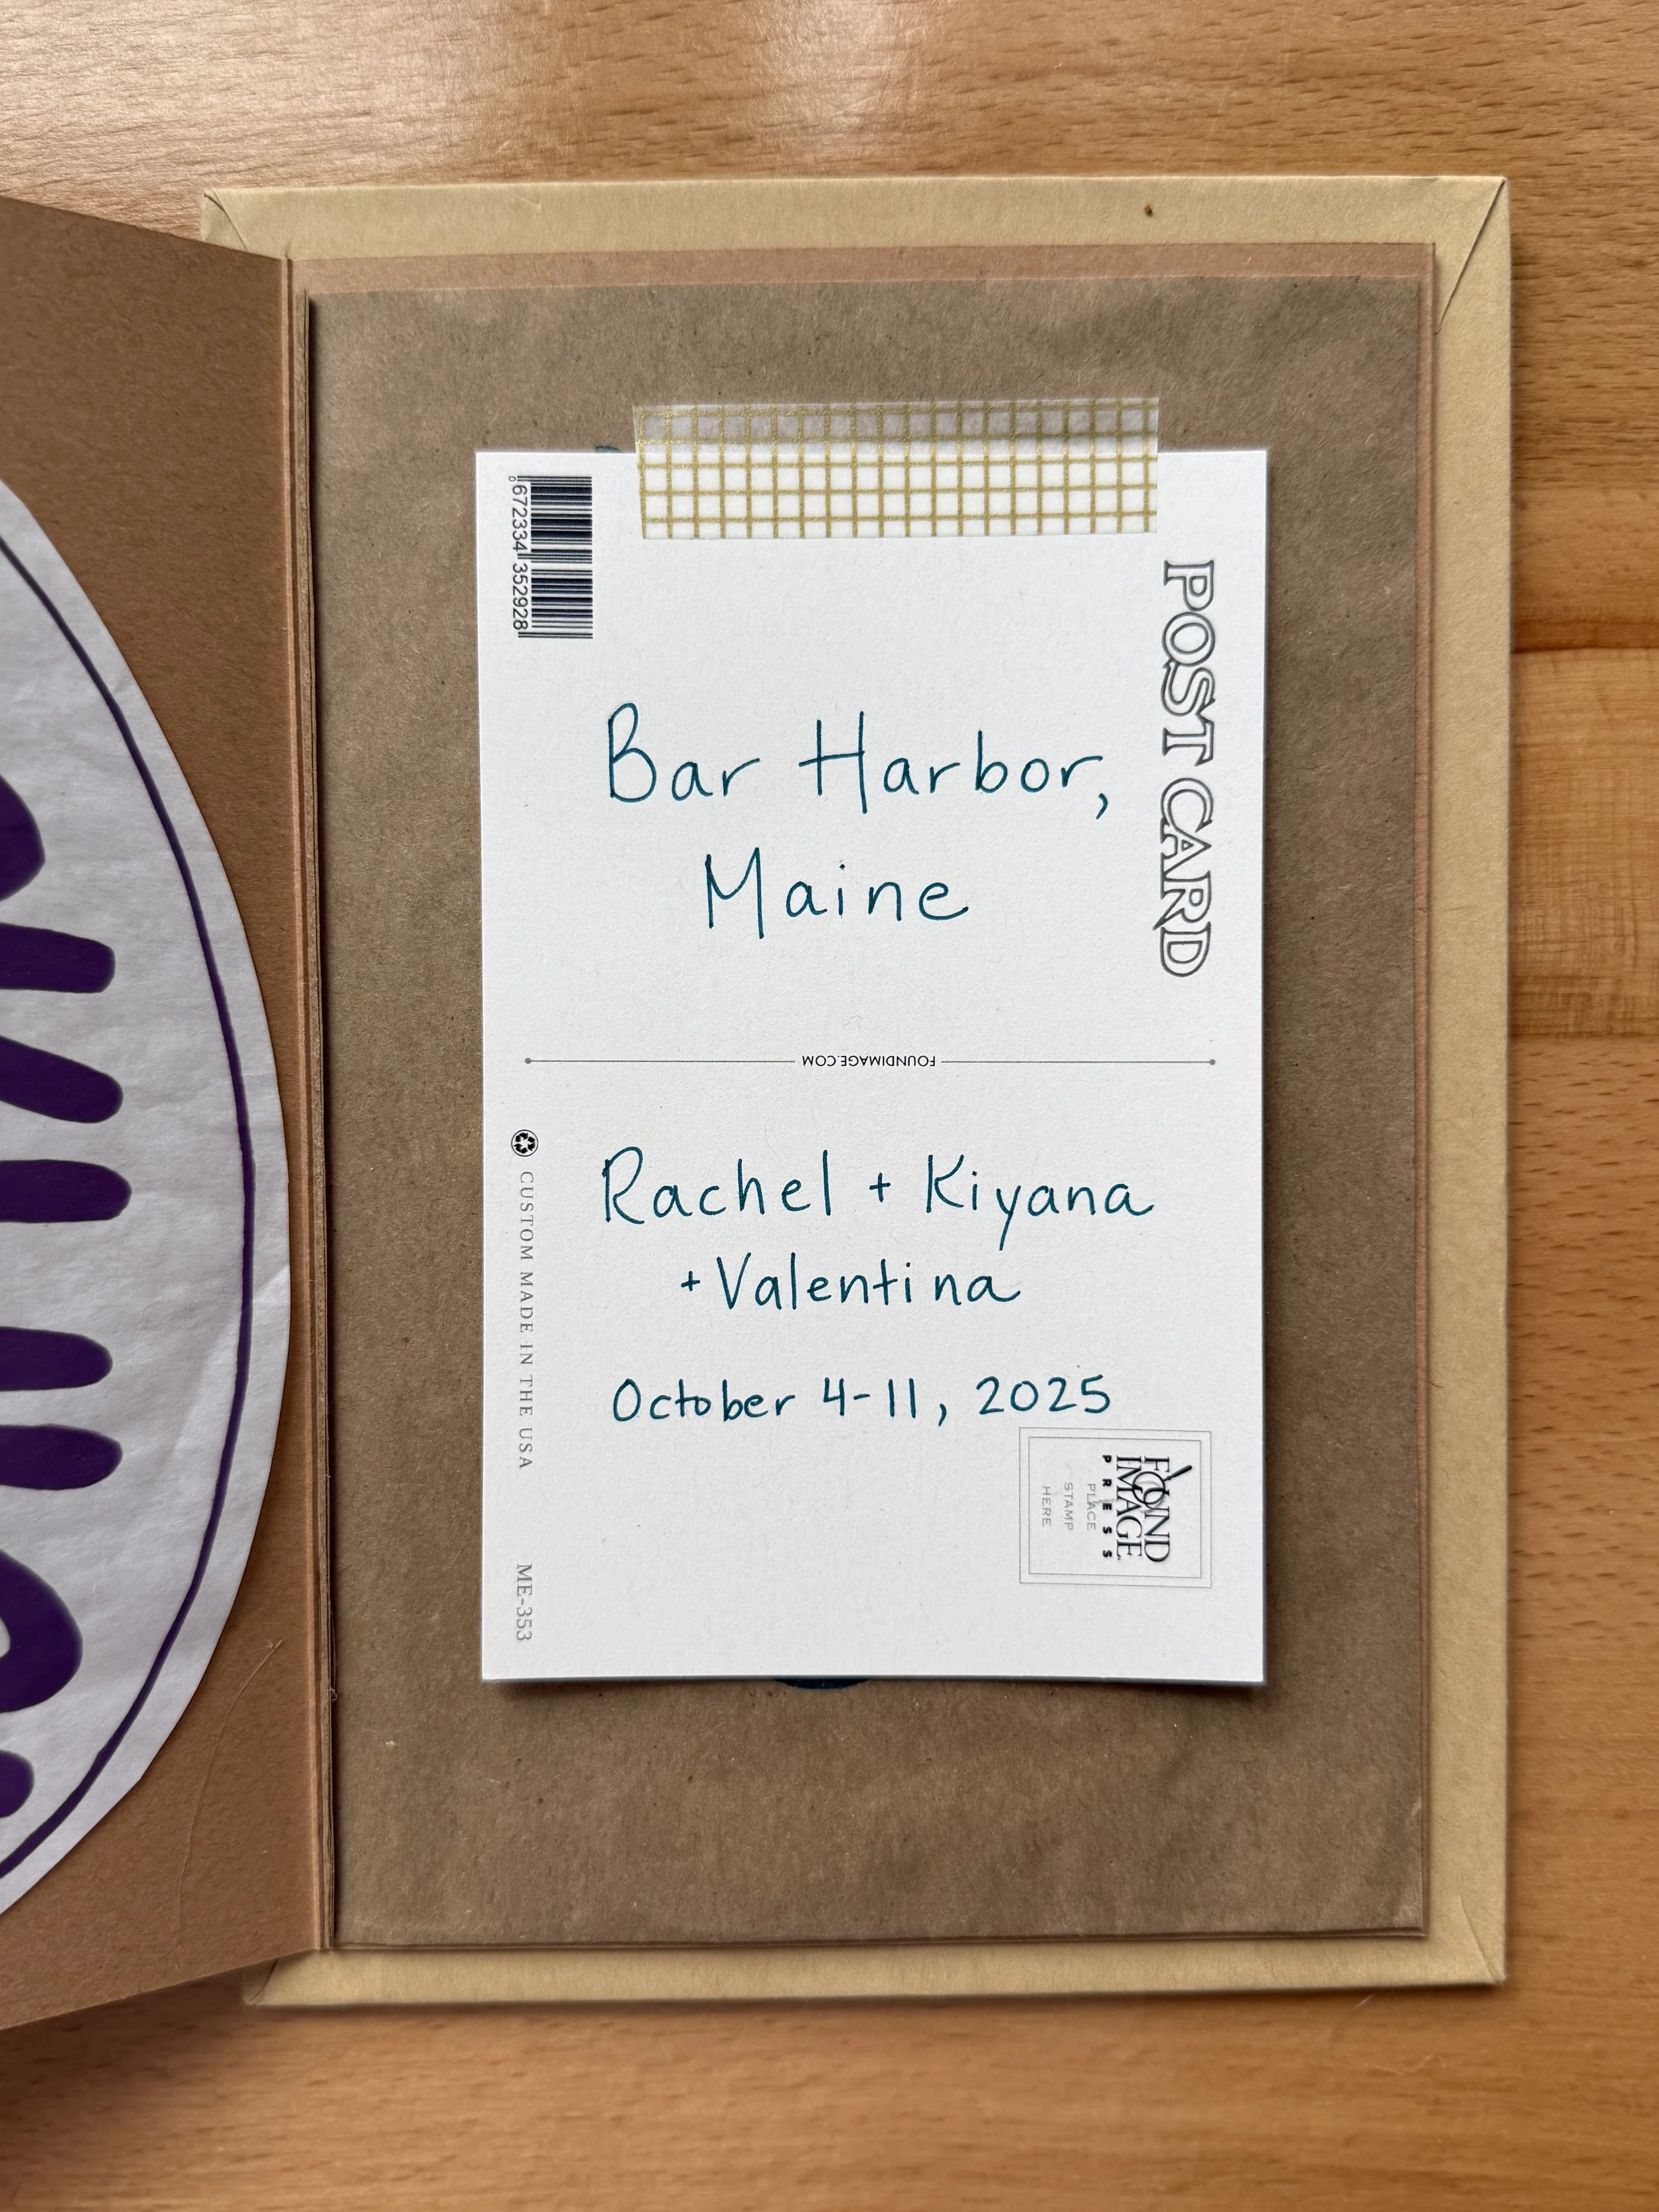
It’s a little hard to describe a junk journal because it can truly be anything you want it to be, so I’ll just show you the one I made after our trip to Maine/Acadia National Park last fall. The only things I bought for this were the notebook itself, a bottle of rubber cement, and a roll of washi tape; everything else was stuff I just acquired for free, or was a little souvenir I would have purchased/collected anyway. (Think: postcards, bookmarks, pins, stickers.)
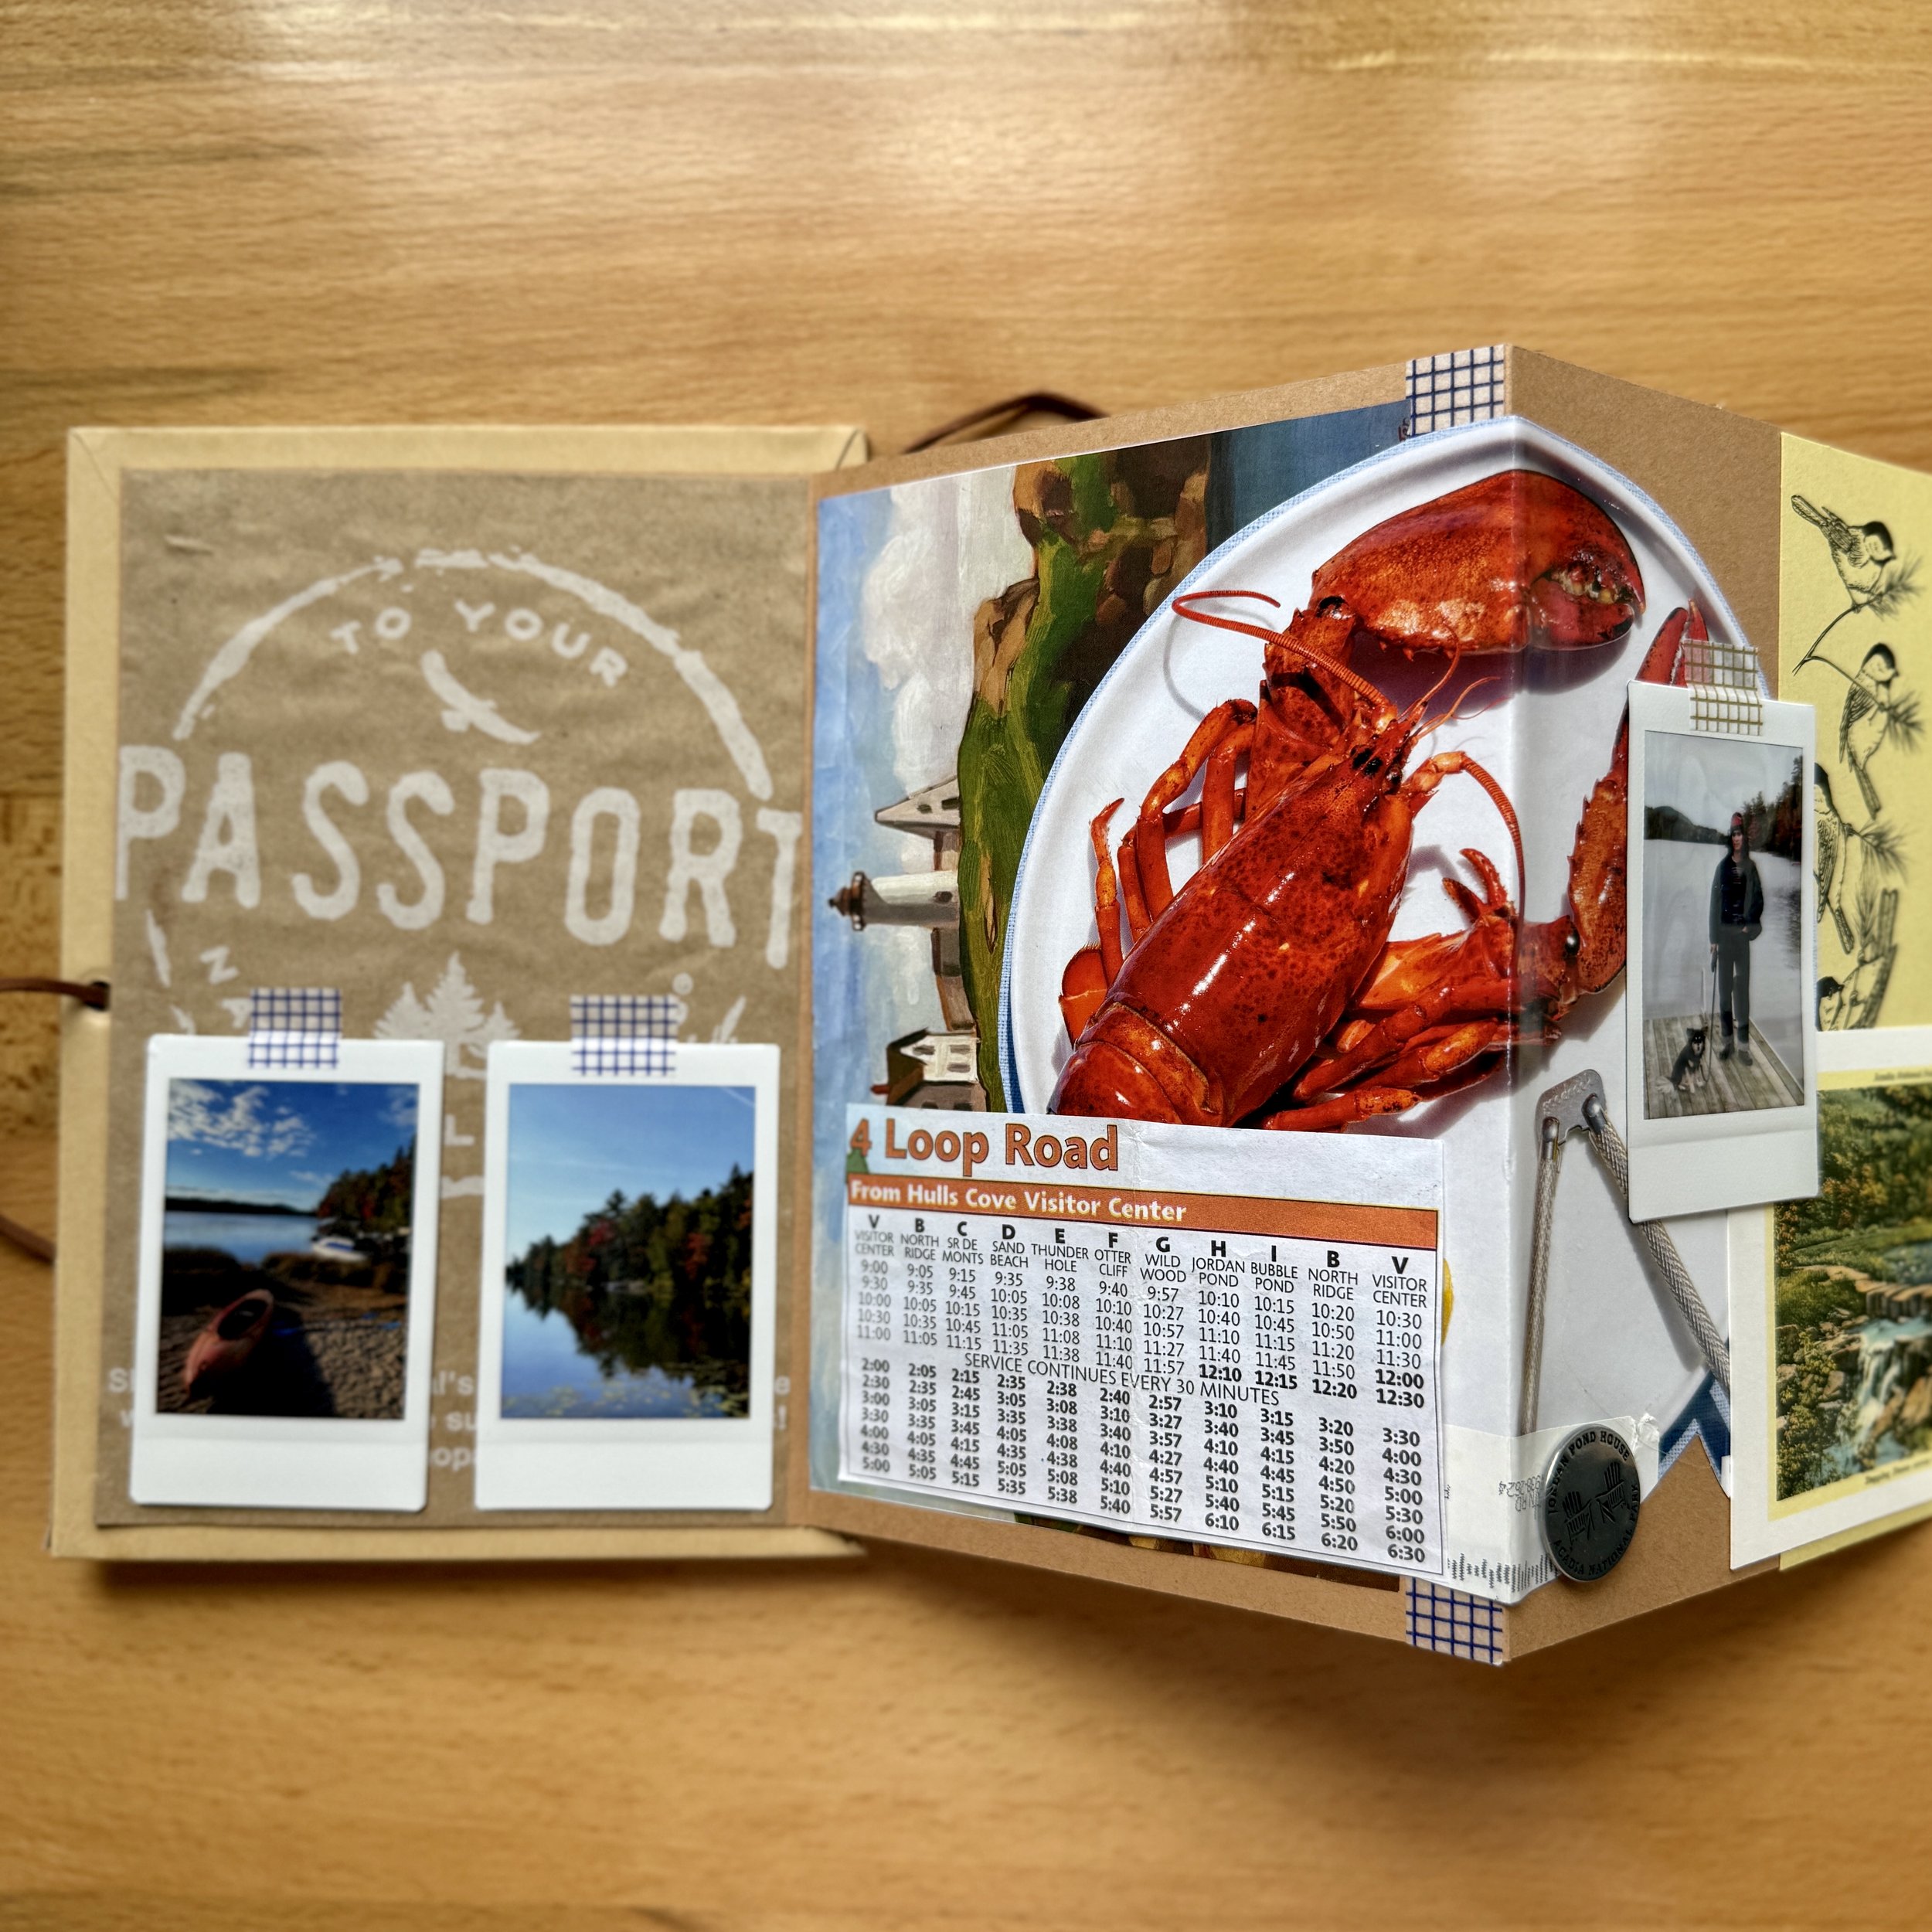
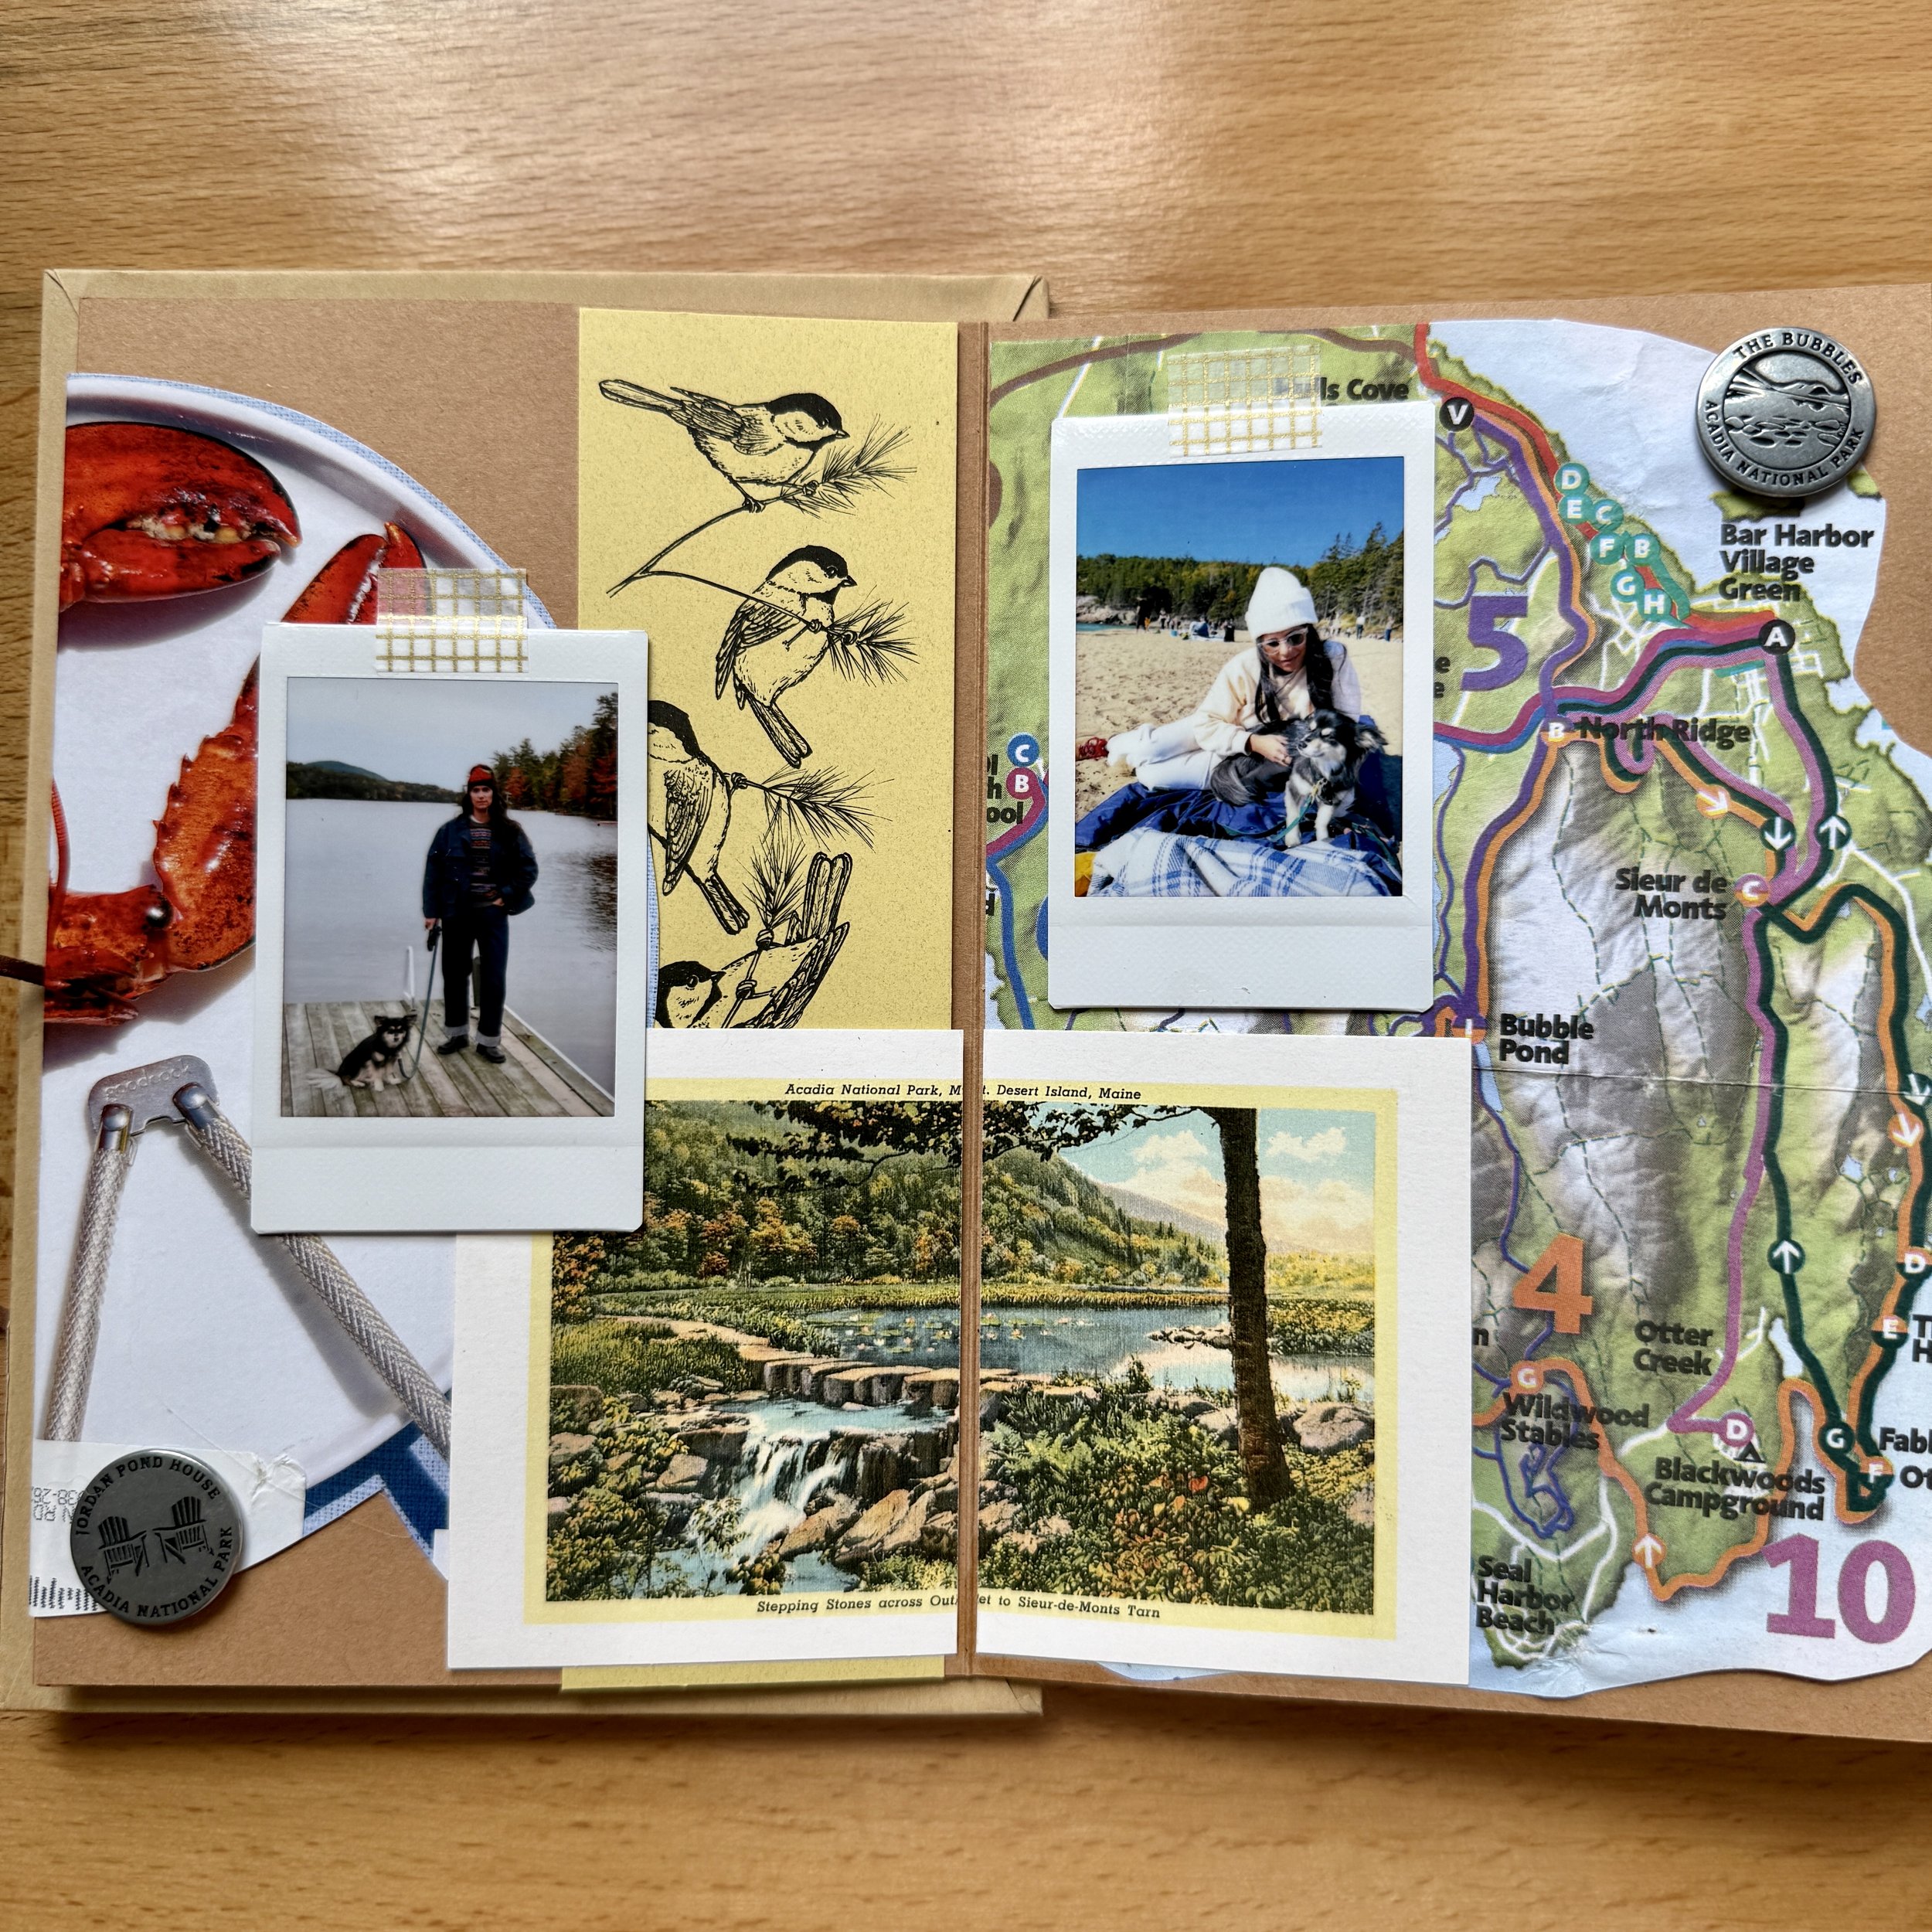
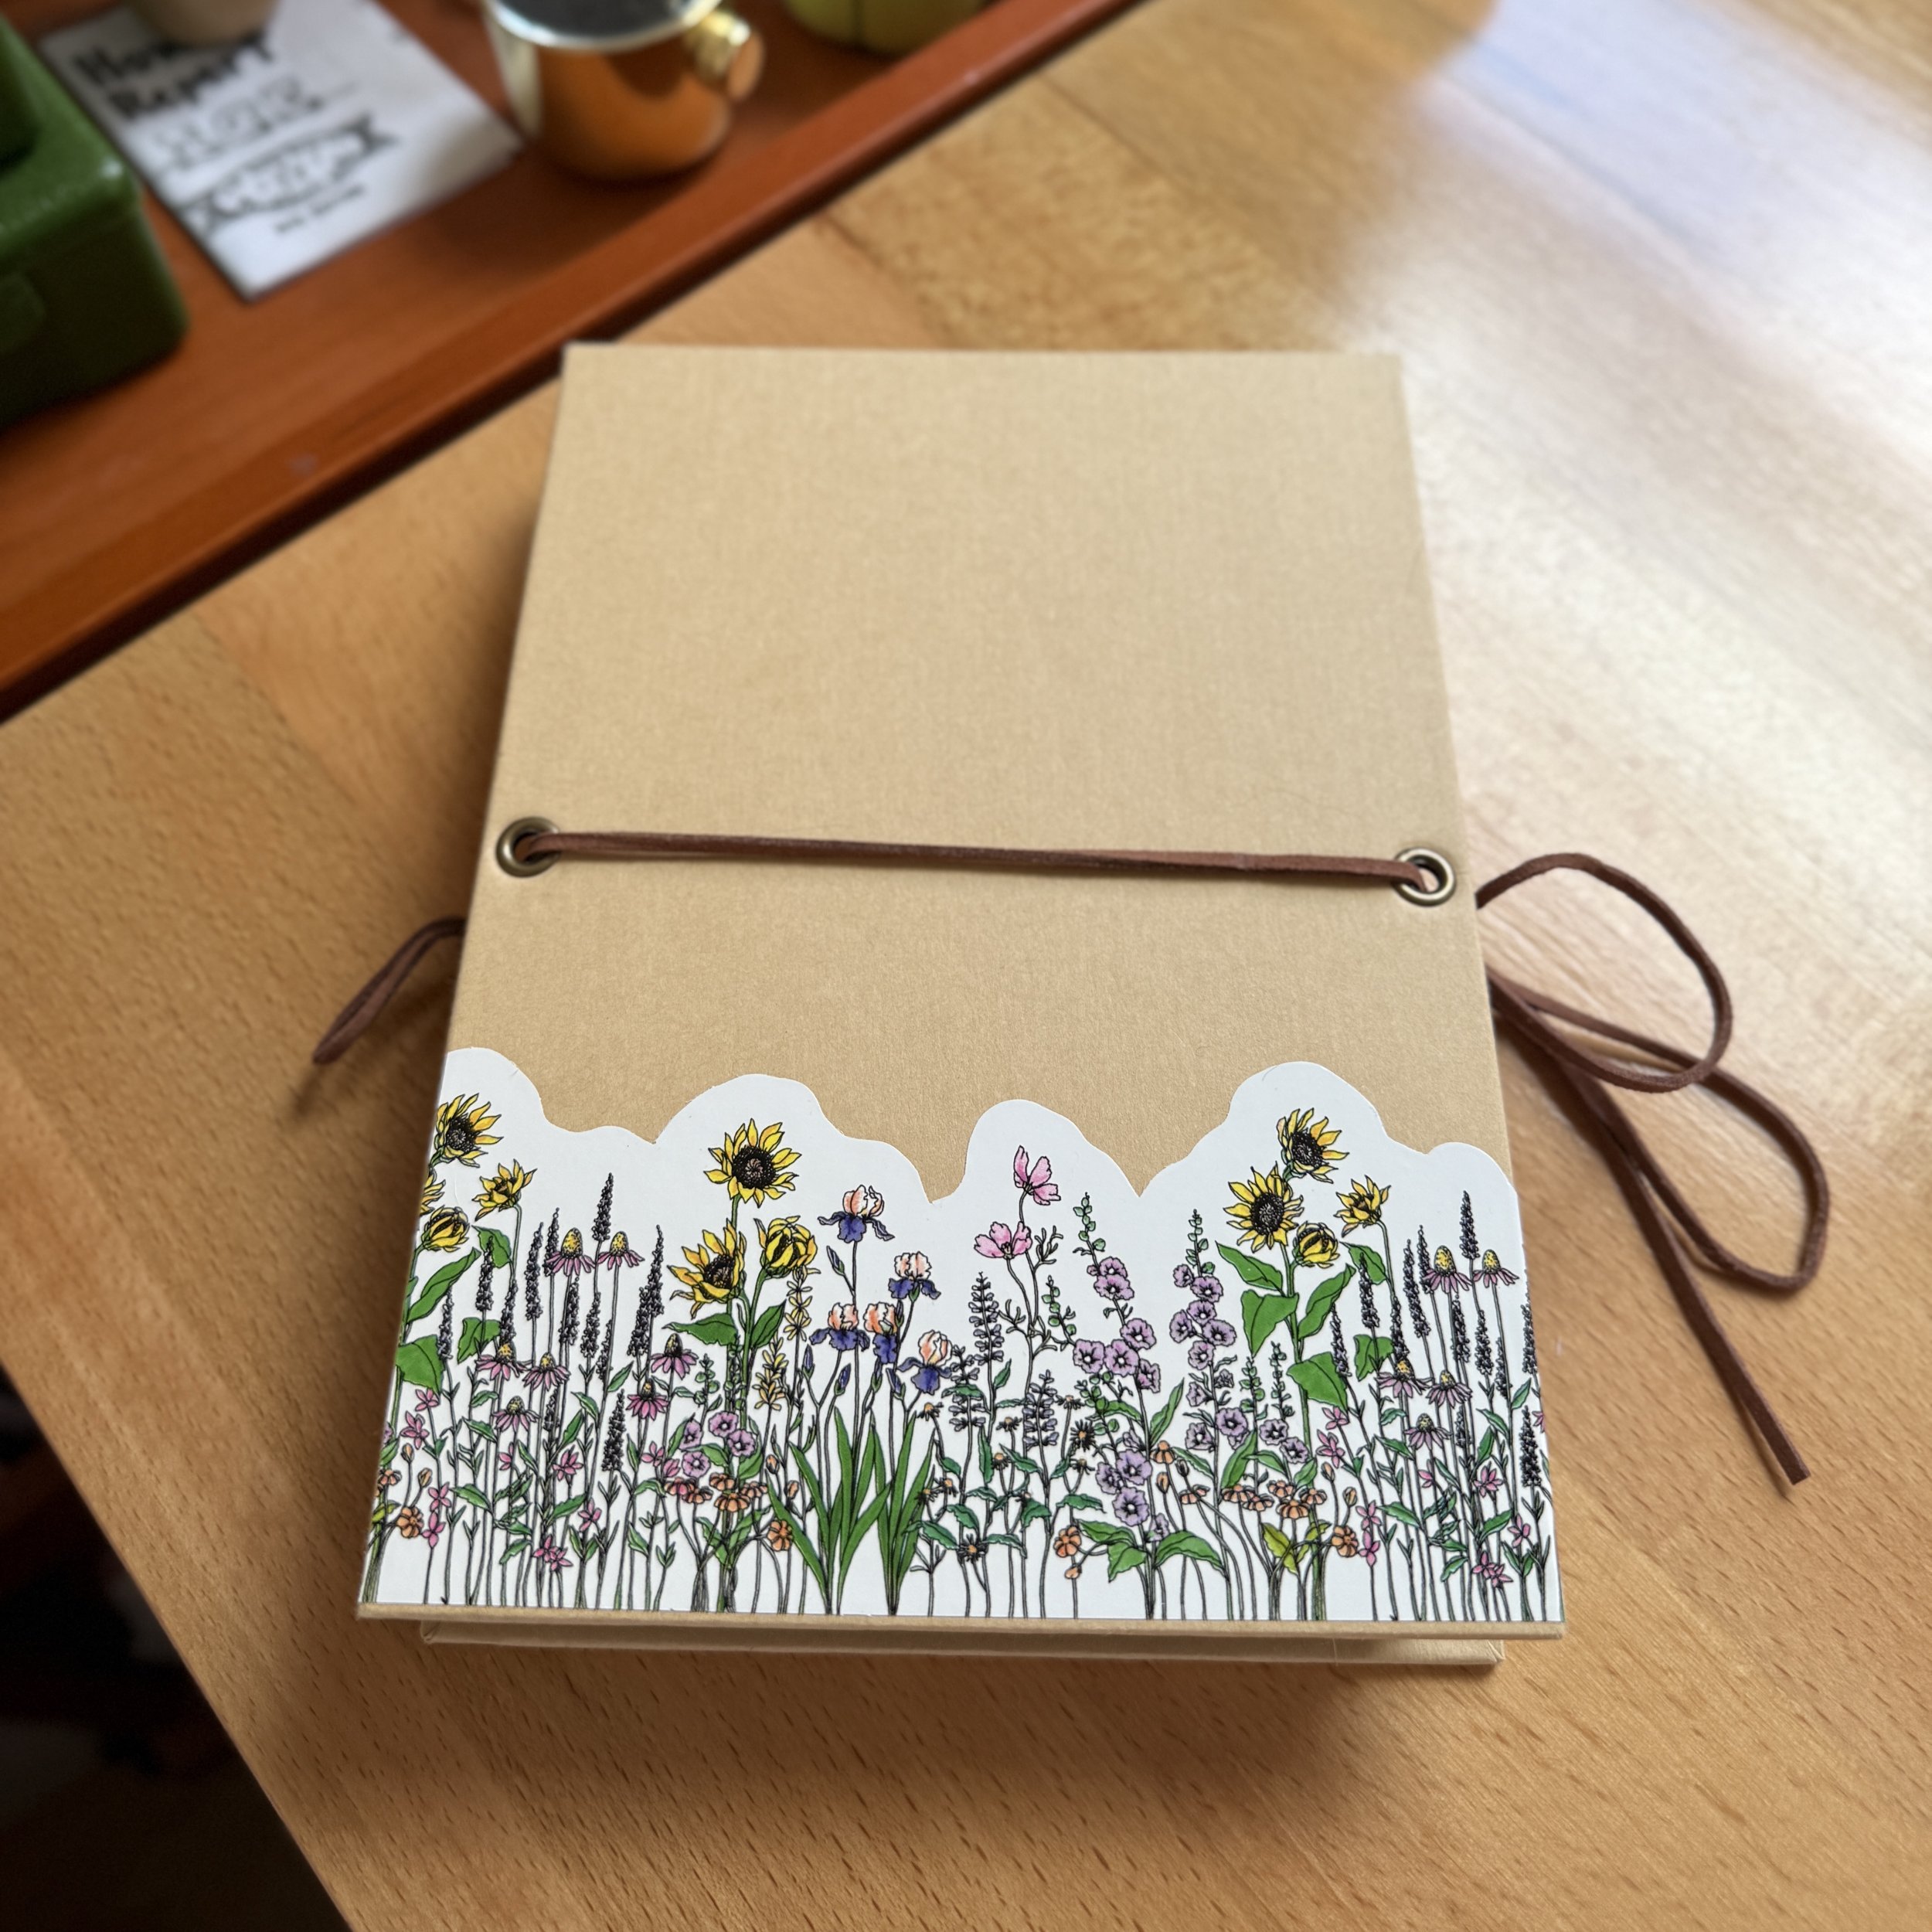
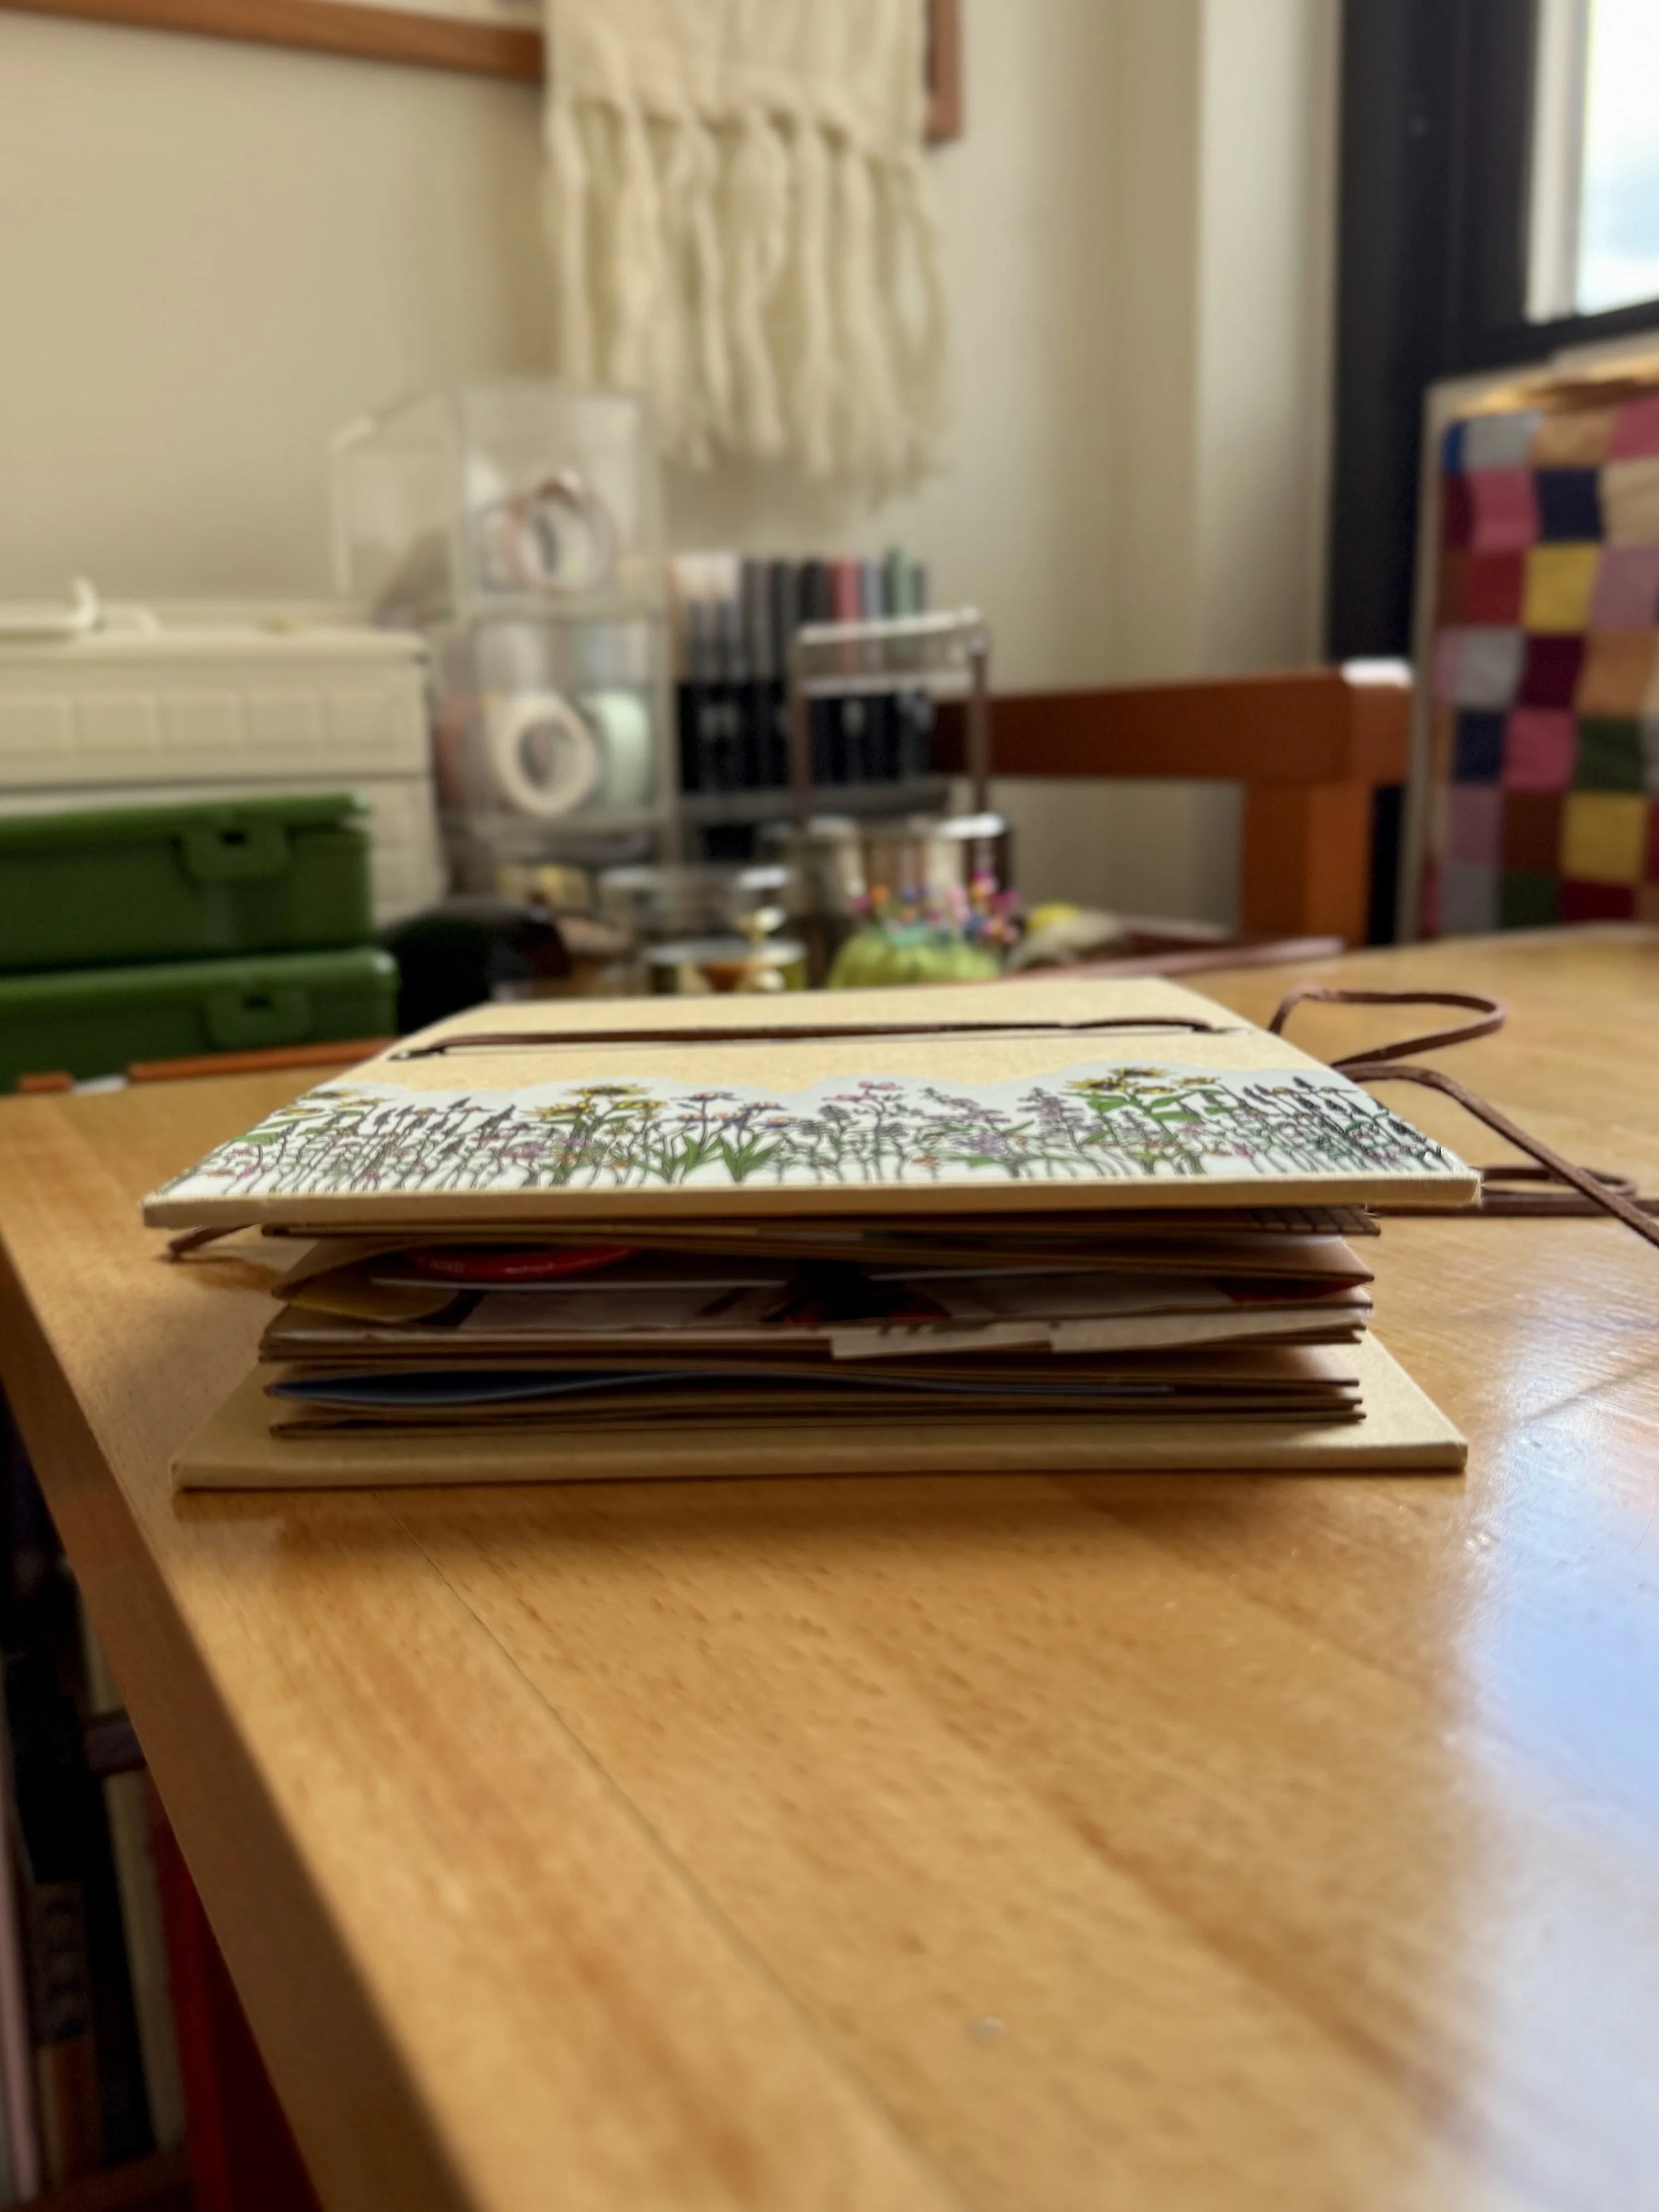
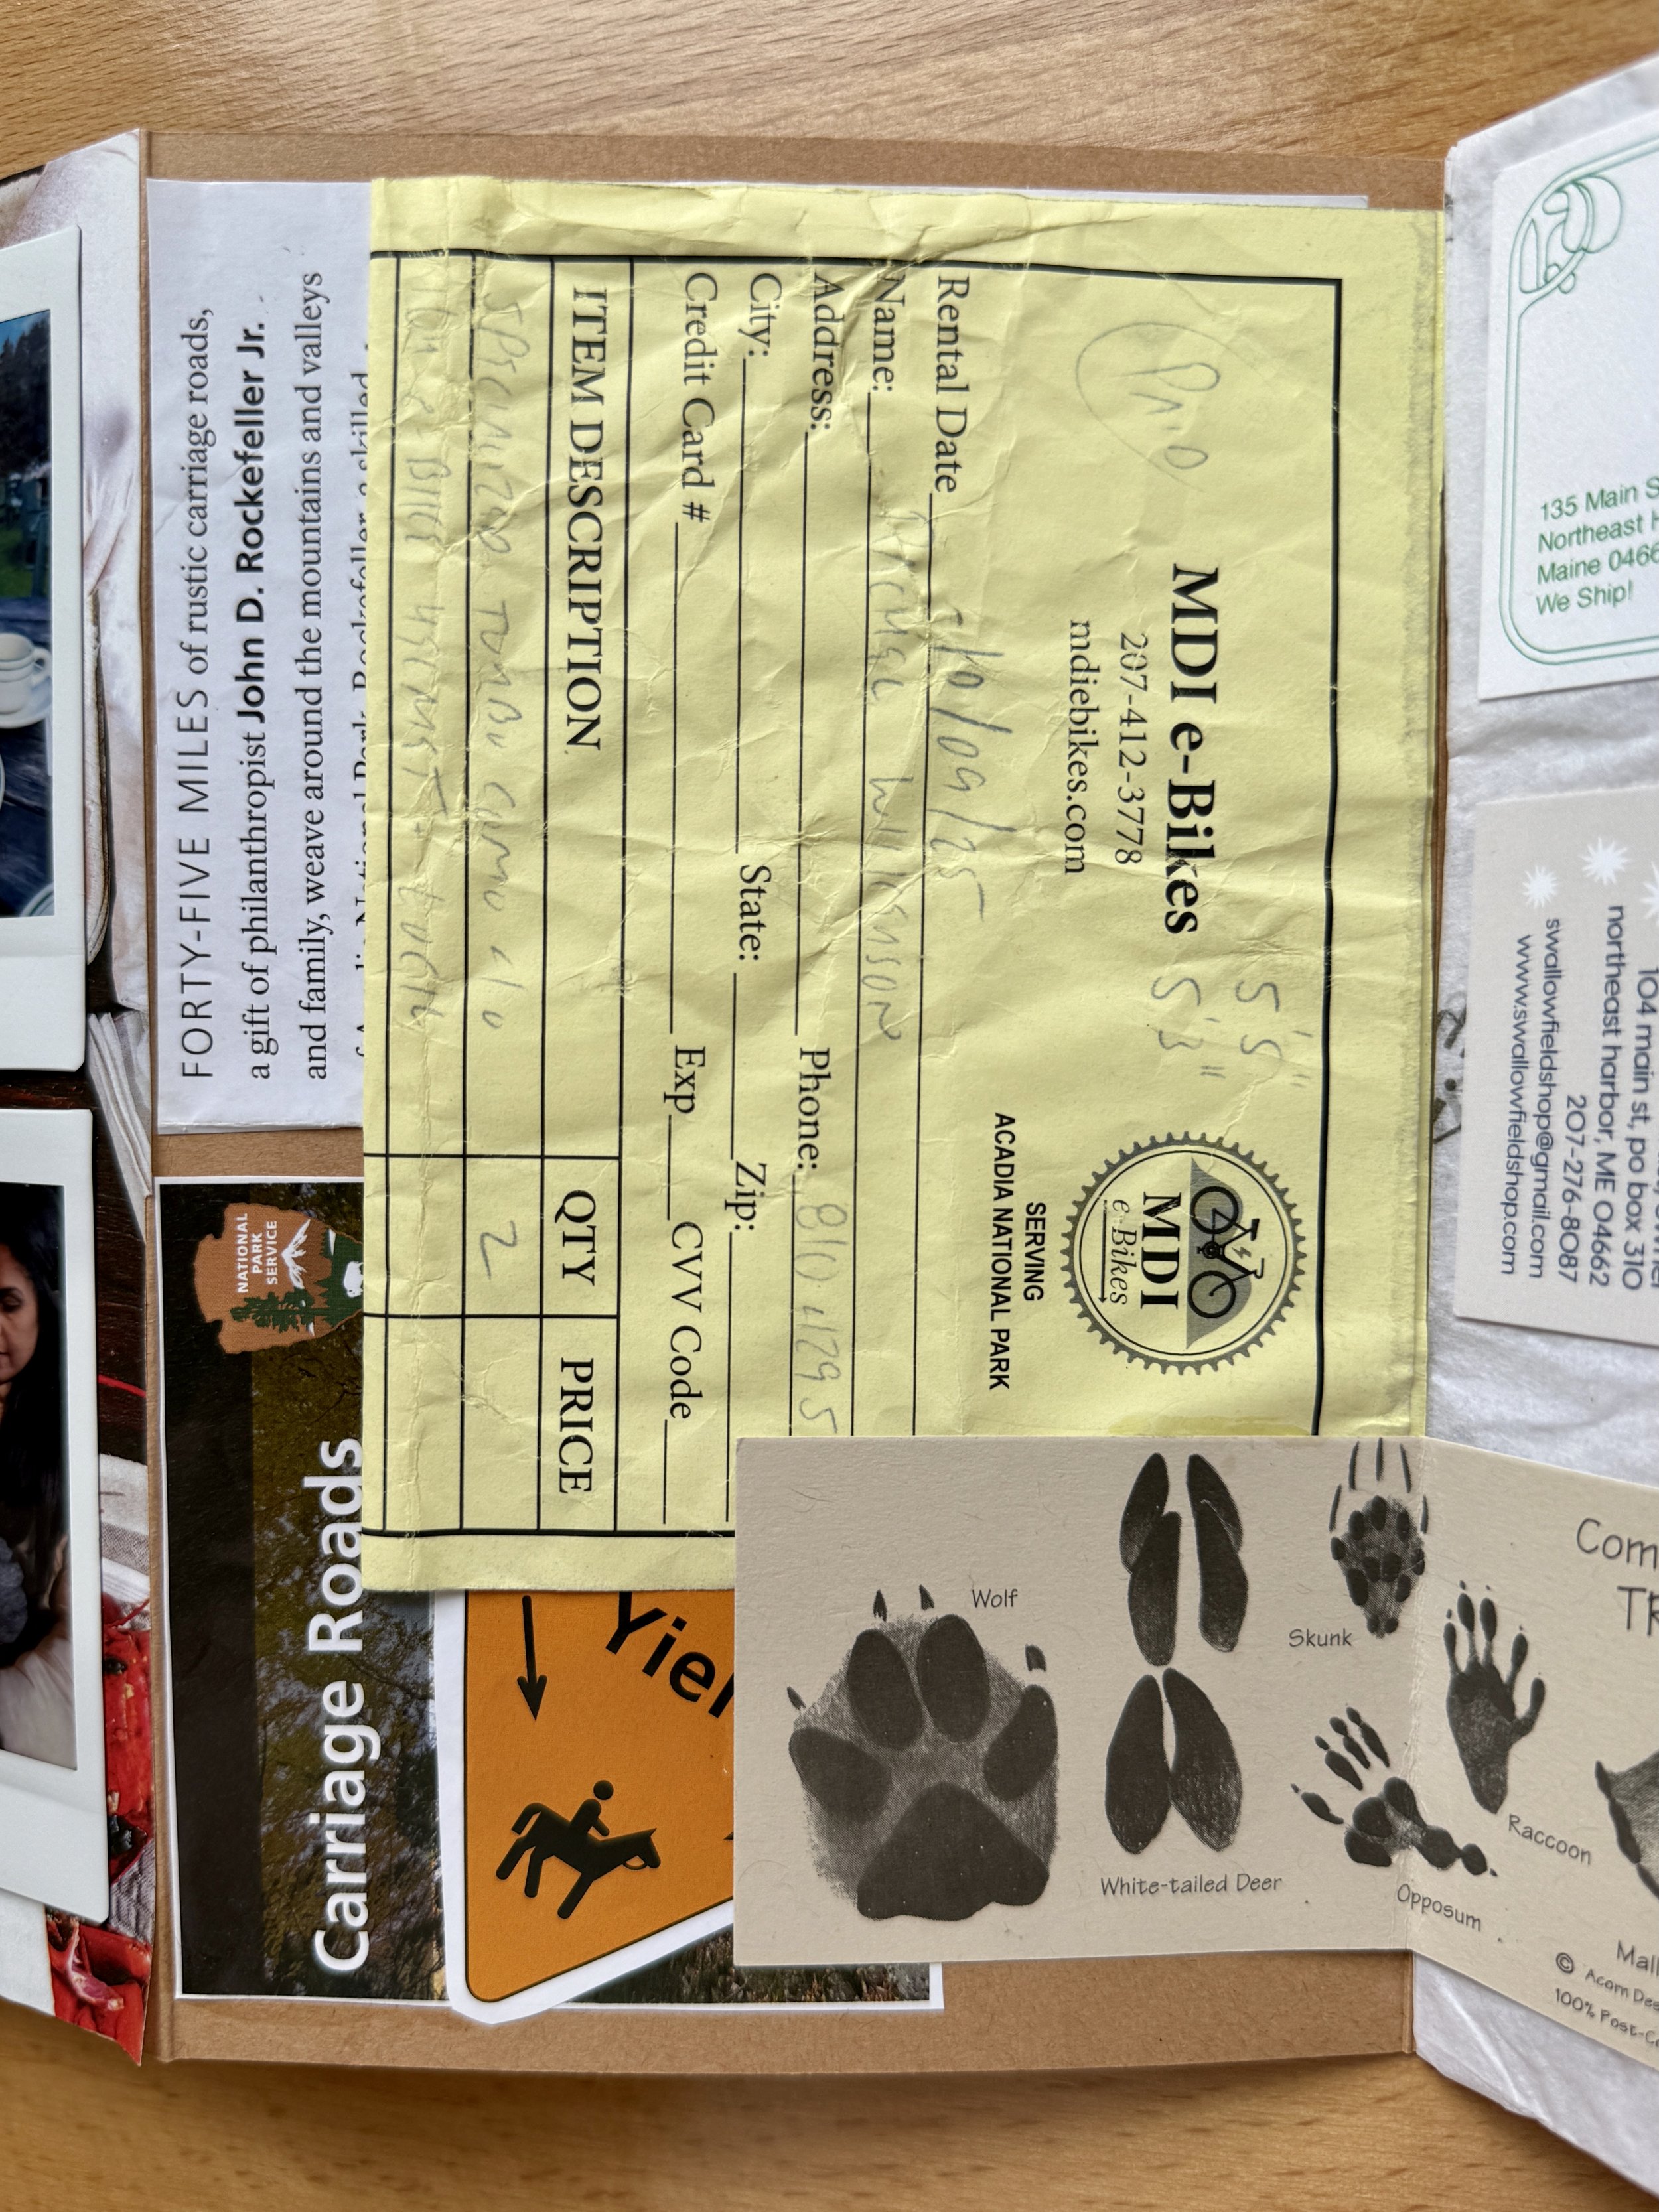
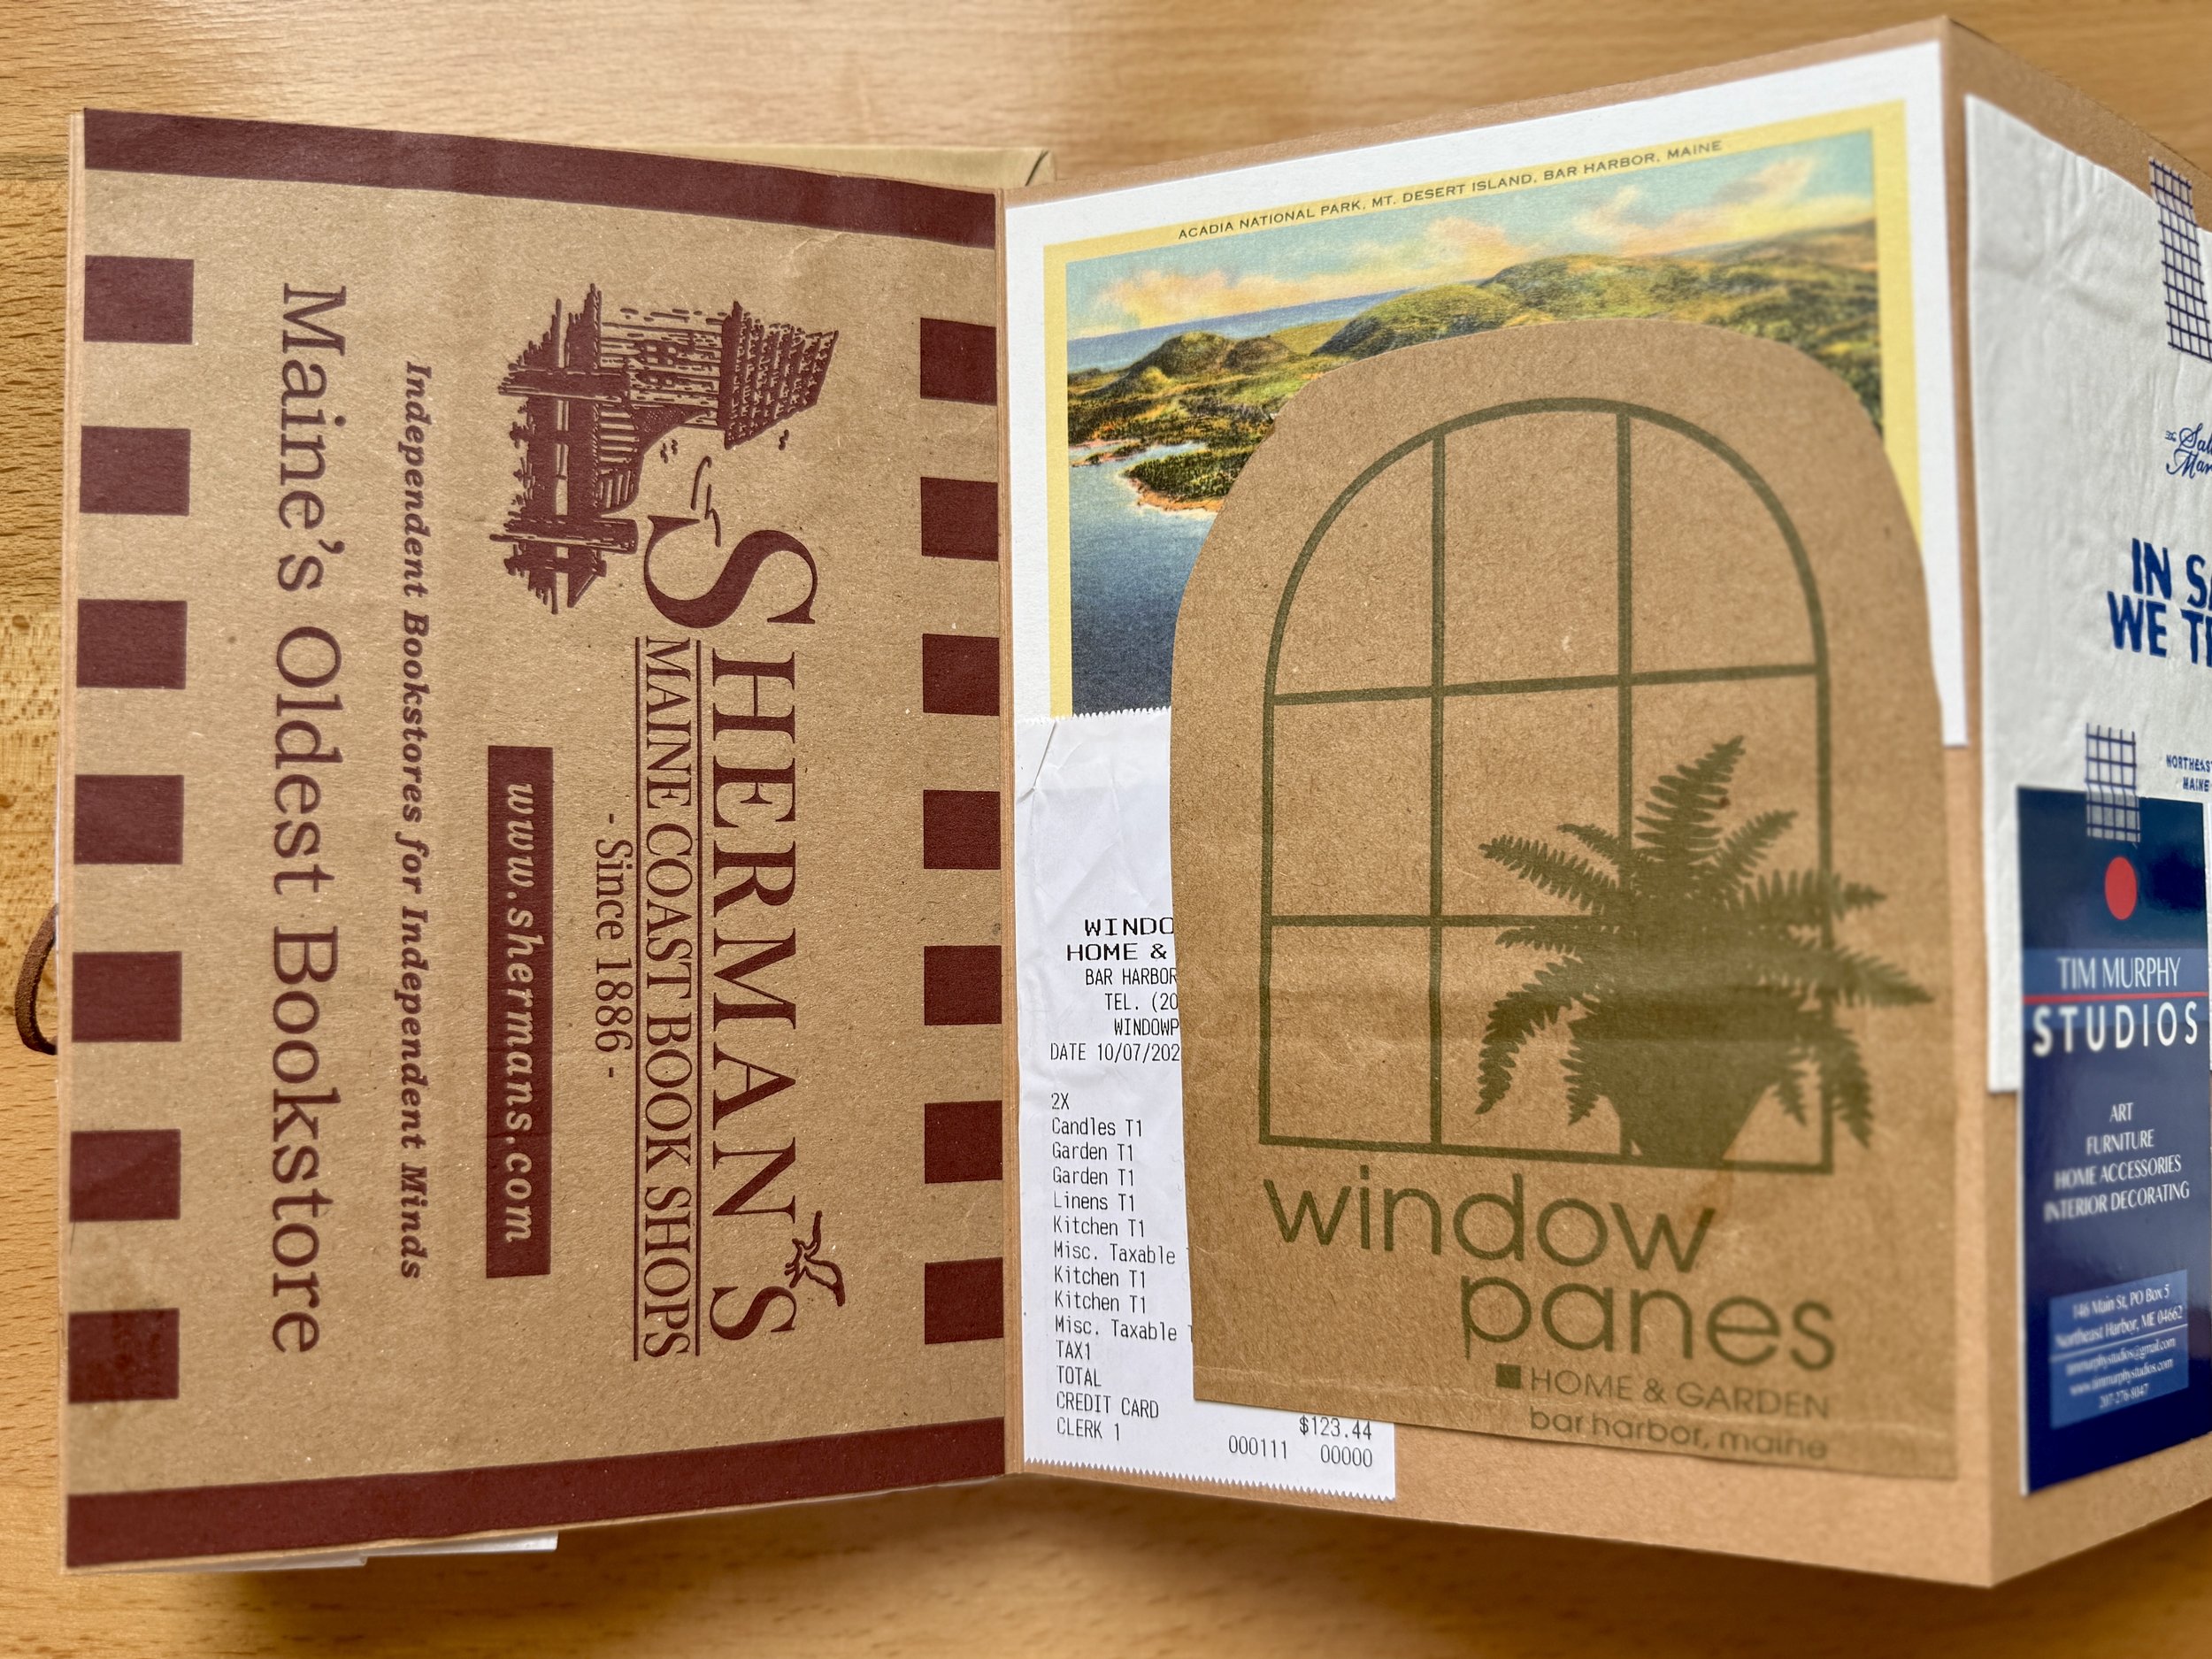
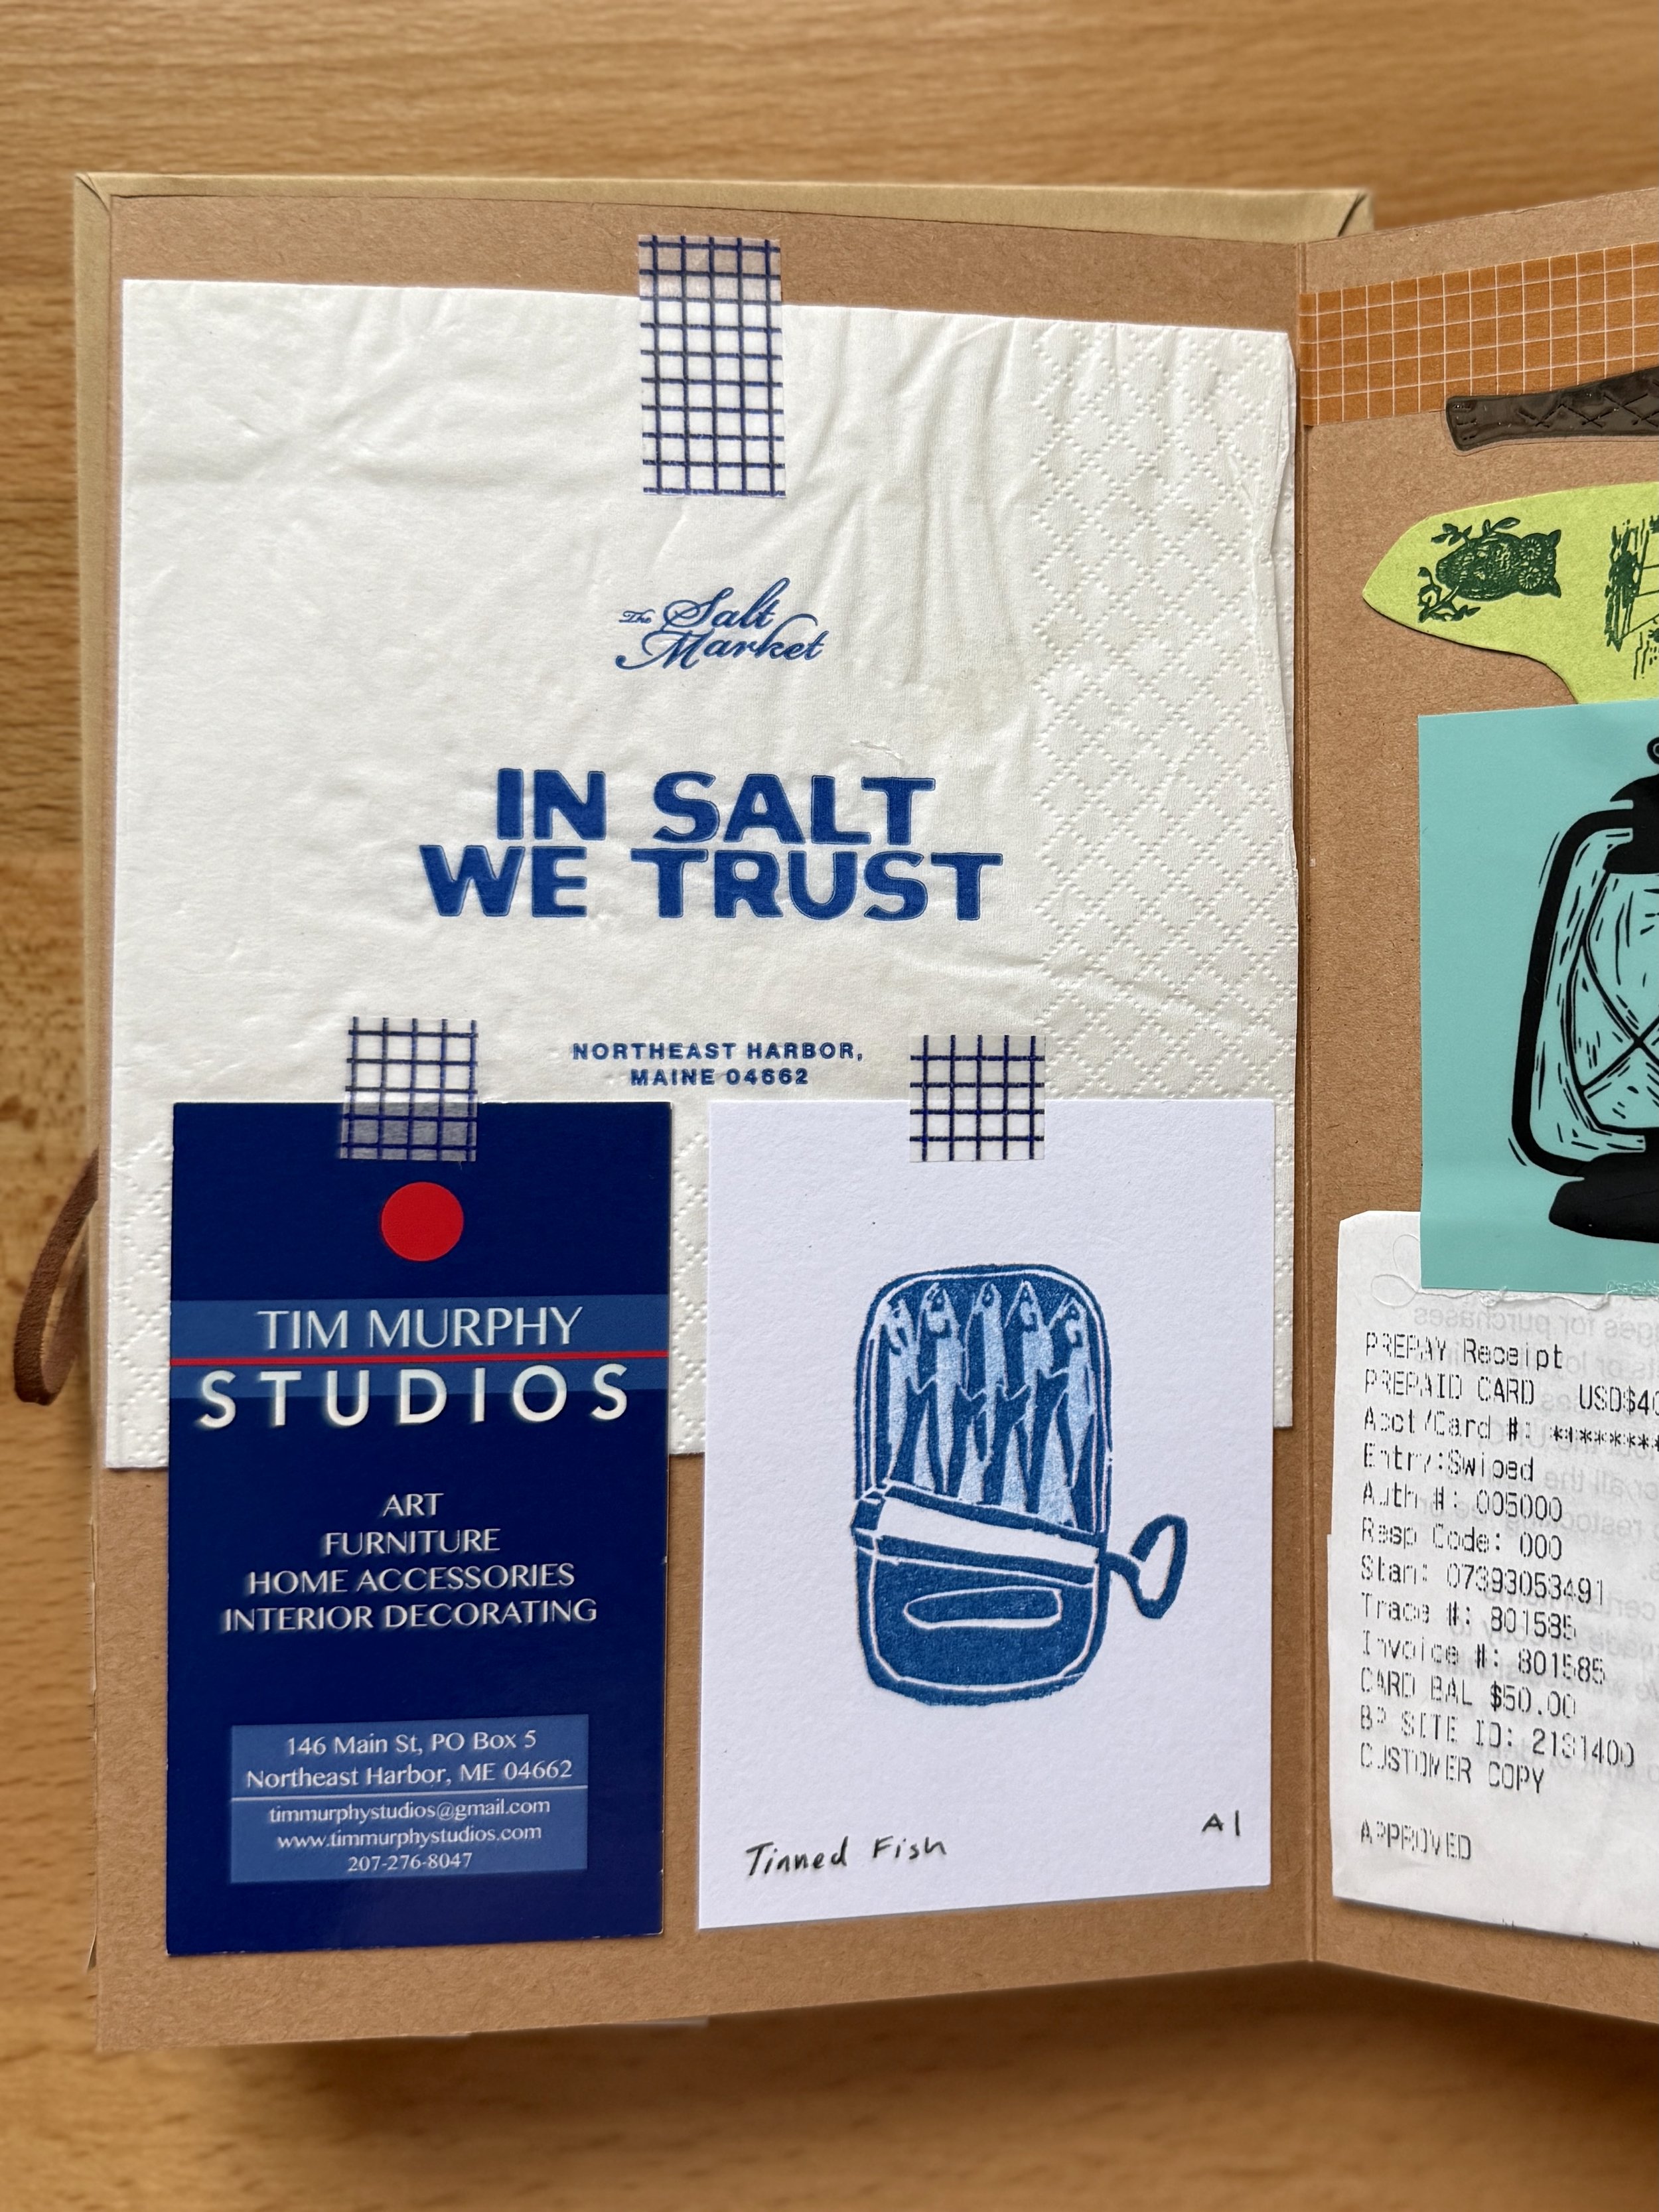
I started with a 6” x 8” accordion kraft paper photo album that only has 15 pages; I like starting small with stuff like this, both because I’ve learned not to overcommit to new hobbies, and because I figured it would look better if it were fully stuffed as opposed to half-empty when I finished. Throughout the trip, I kept an eye out for junk: I hung onto the free map for the Island Explorer bus, the tissue paper and little bags I got when shopping, cute napkins, a Maine magazine in the rental where we stayed, receipts, business cards from local merchants, etc. I also used a mini photo printer to print photos from my phone every day that we were there (so I’d actually do it).
The collecting aspect turned out to be one of the most enjoyable parts of this project; I discovered that once you start actively looking for these little odds and ends, particularly ones that are colorful or unique, you start to notice them everywhere.
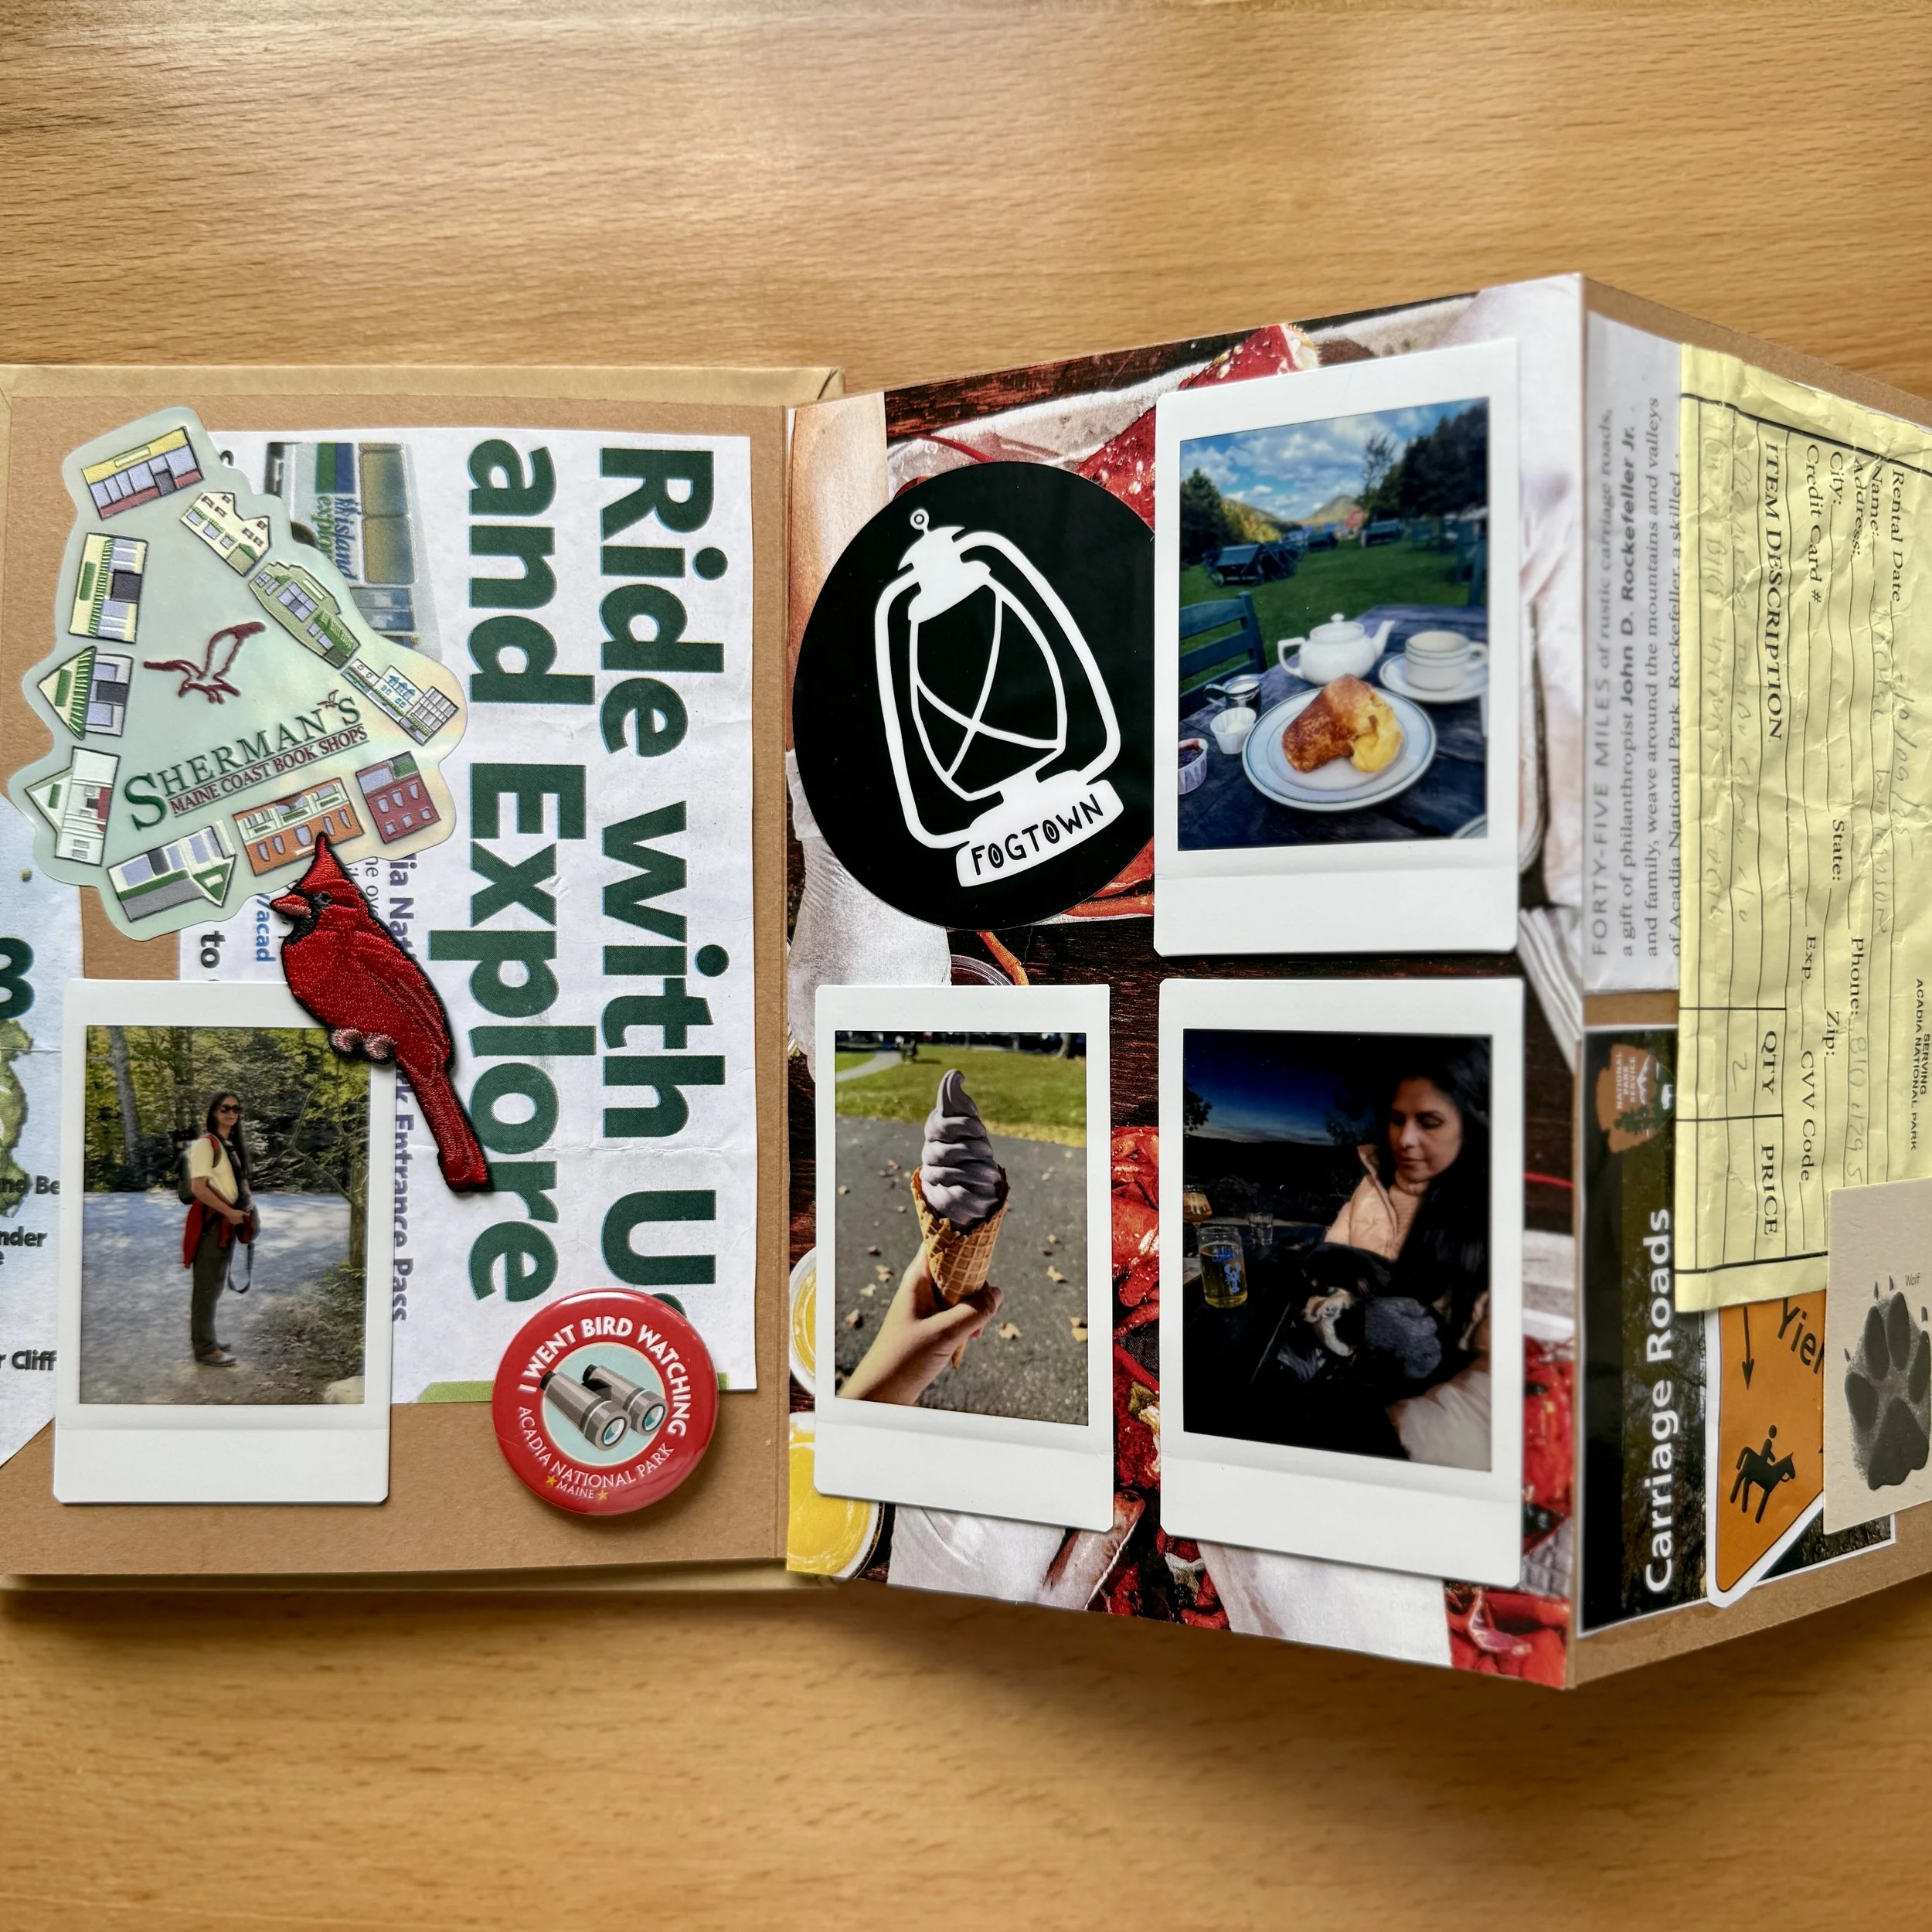
After we got home from the trip, I sat down and got to work. It’s been a million years since I made a collage, and I forgot how straightforward and easy it is. (I used a mix of rubber cement, tape, hot glue, and a glue stick for the different items, but This to That would probably be helpful if you want to make sure everything is really stuck on there.) My goal was to not overthink it and to just have fun.
It ended up being such a pleasure to assemble! I wasn’t precious about anything, and was happy to cut things apart to make them fit/work because, again, it was all free or cost like $2. I also incorporated some stickers/patches I had at home to add more texture/color, and because I’m definitely guilty of saving stickers and patches for the perfect thing and then…never using them. I’m trying to break that habit, and this actually helped.

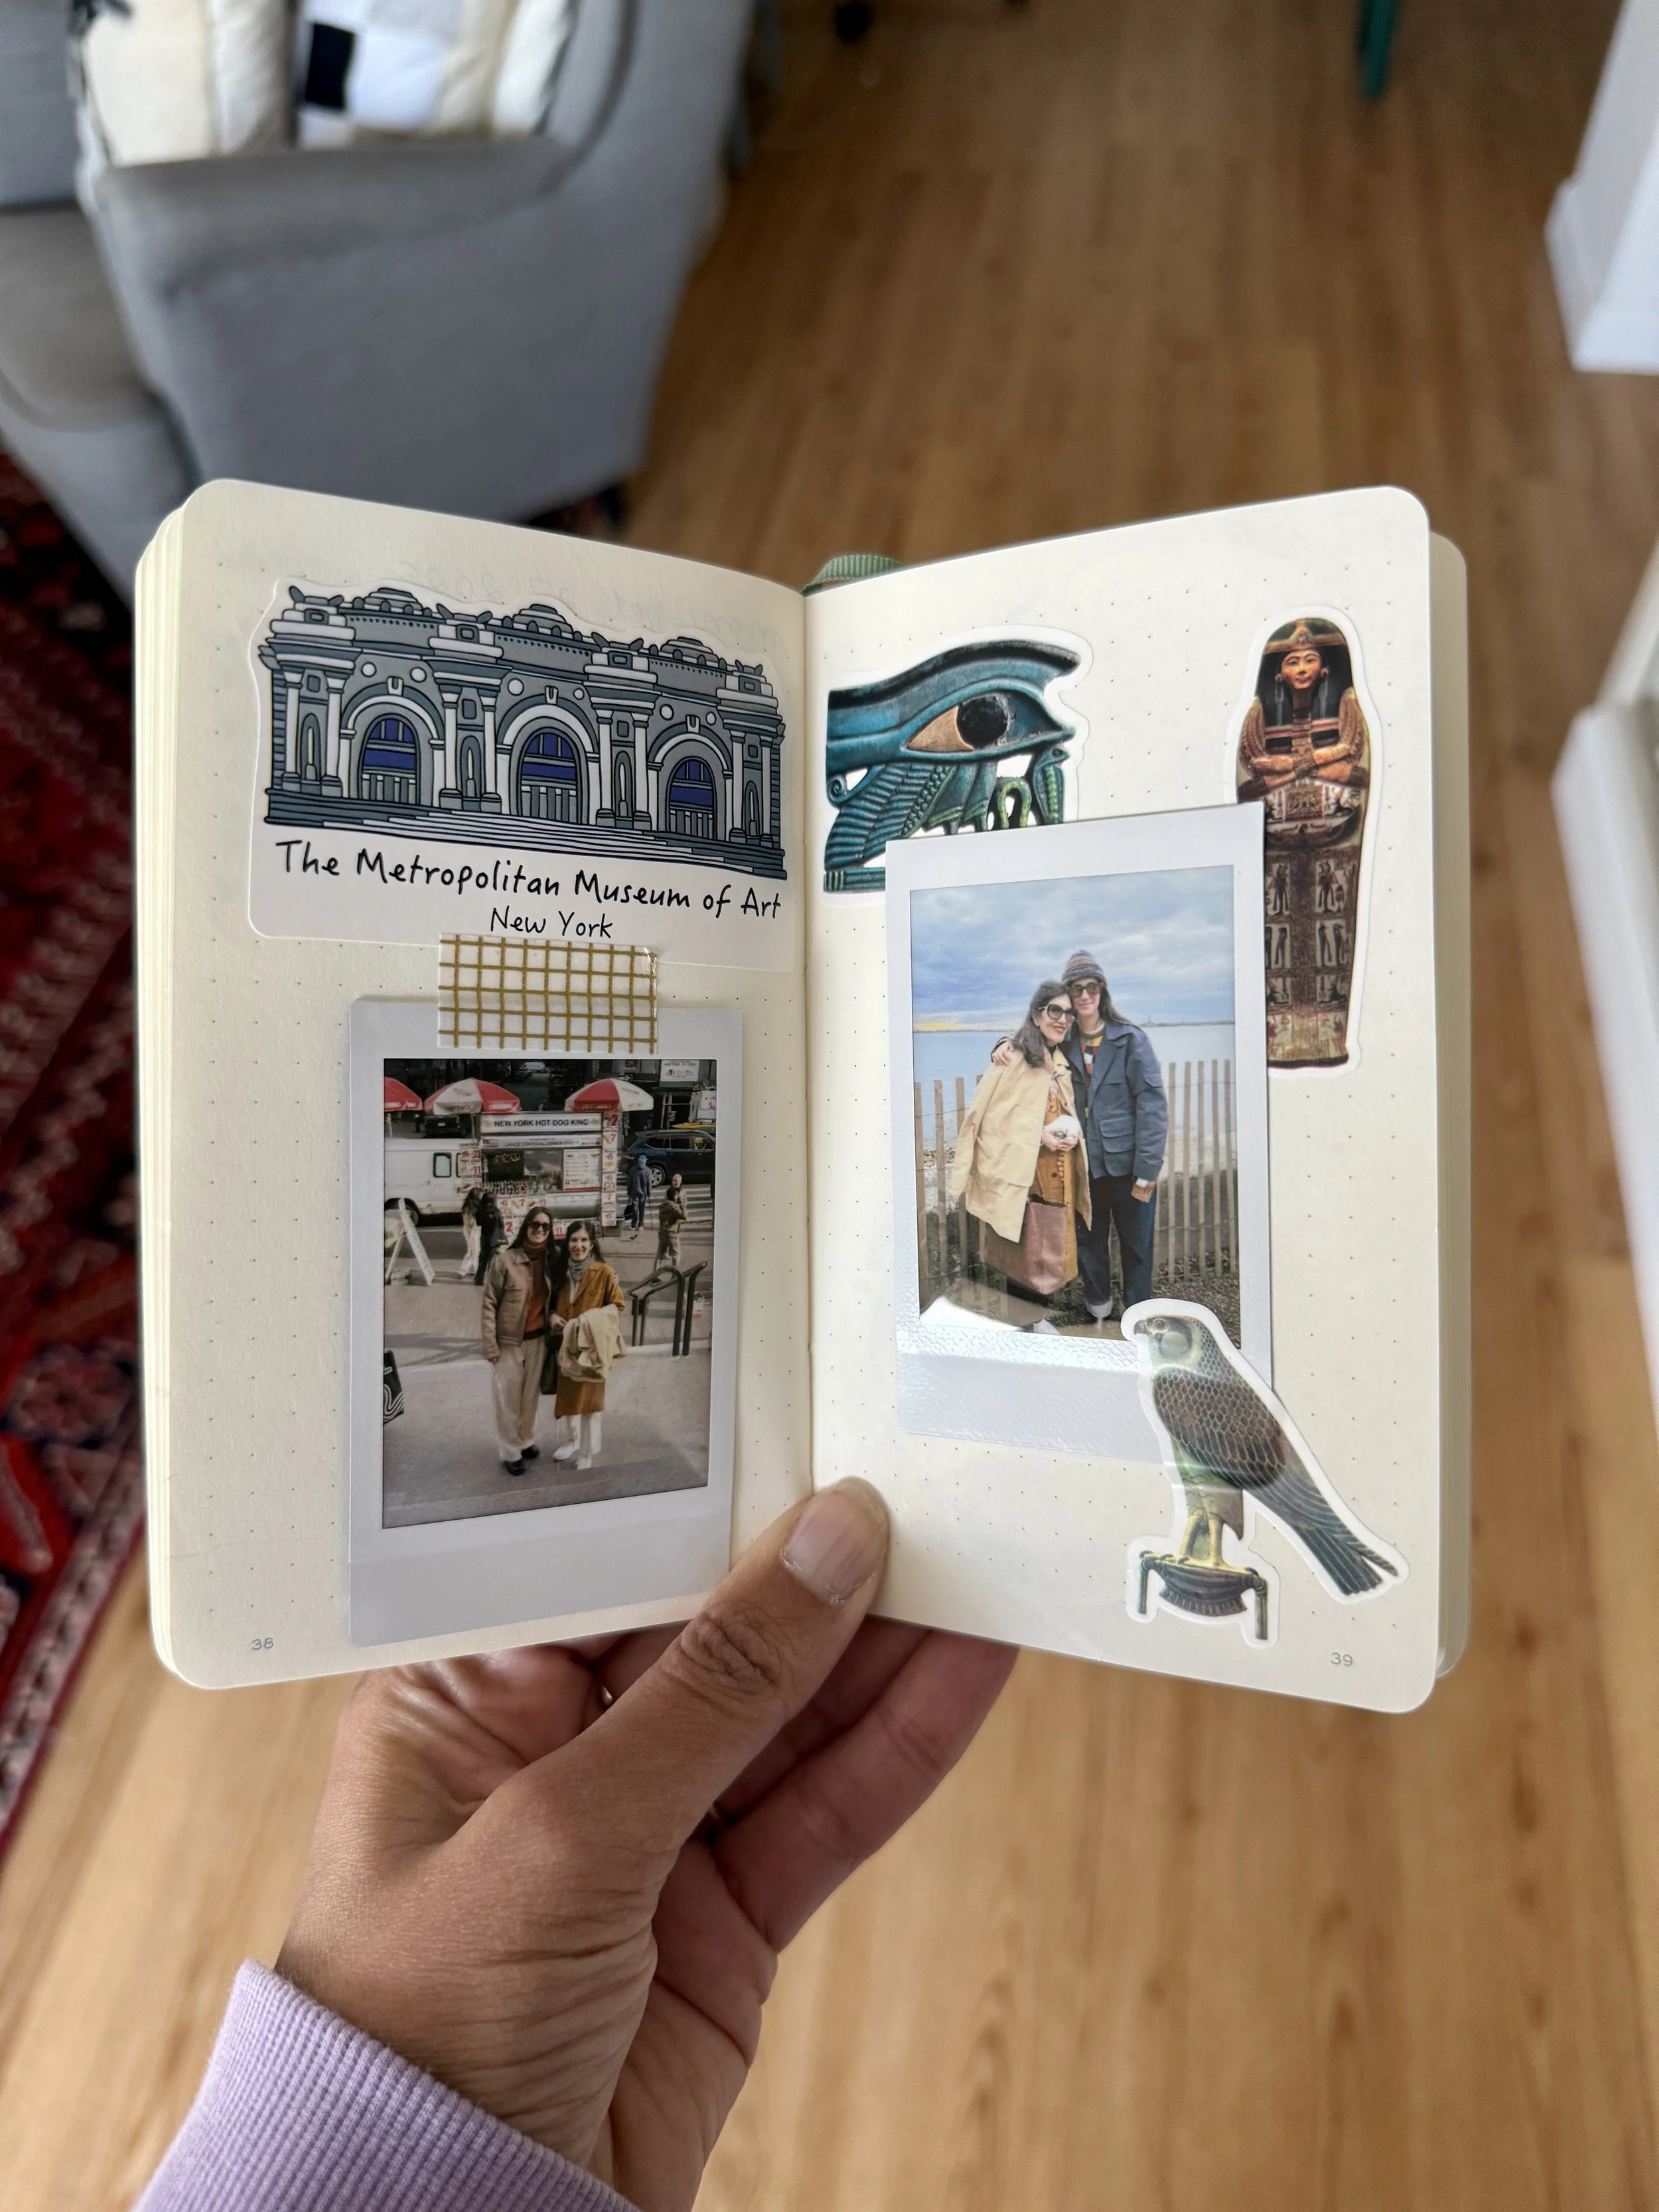
I’ve also been incorporating more layers into my everyday journal. For example, here are a couple of pages I put together last year after Kiyana’s mom visited us and we went to the Met.
To me, junk journaling is a perfect hobby for 2026. It’s cheap/free and isn’t super consumption-centric—in fact, you can do it using literal trash. And it’s hard to capture in a photo how tactile a junk journal is, and how good it feels to hold in your hands. It feels like a really nice antidote to AI slop and to everything being expensive and stupid right now. ✨